Tag Archives: projects

1st week of Christmas

I decided to set aside the girls science curriculum this month and see what I could come up with that had to do with Christmas and winter.

Here is our first week.

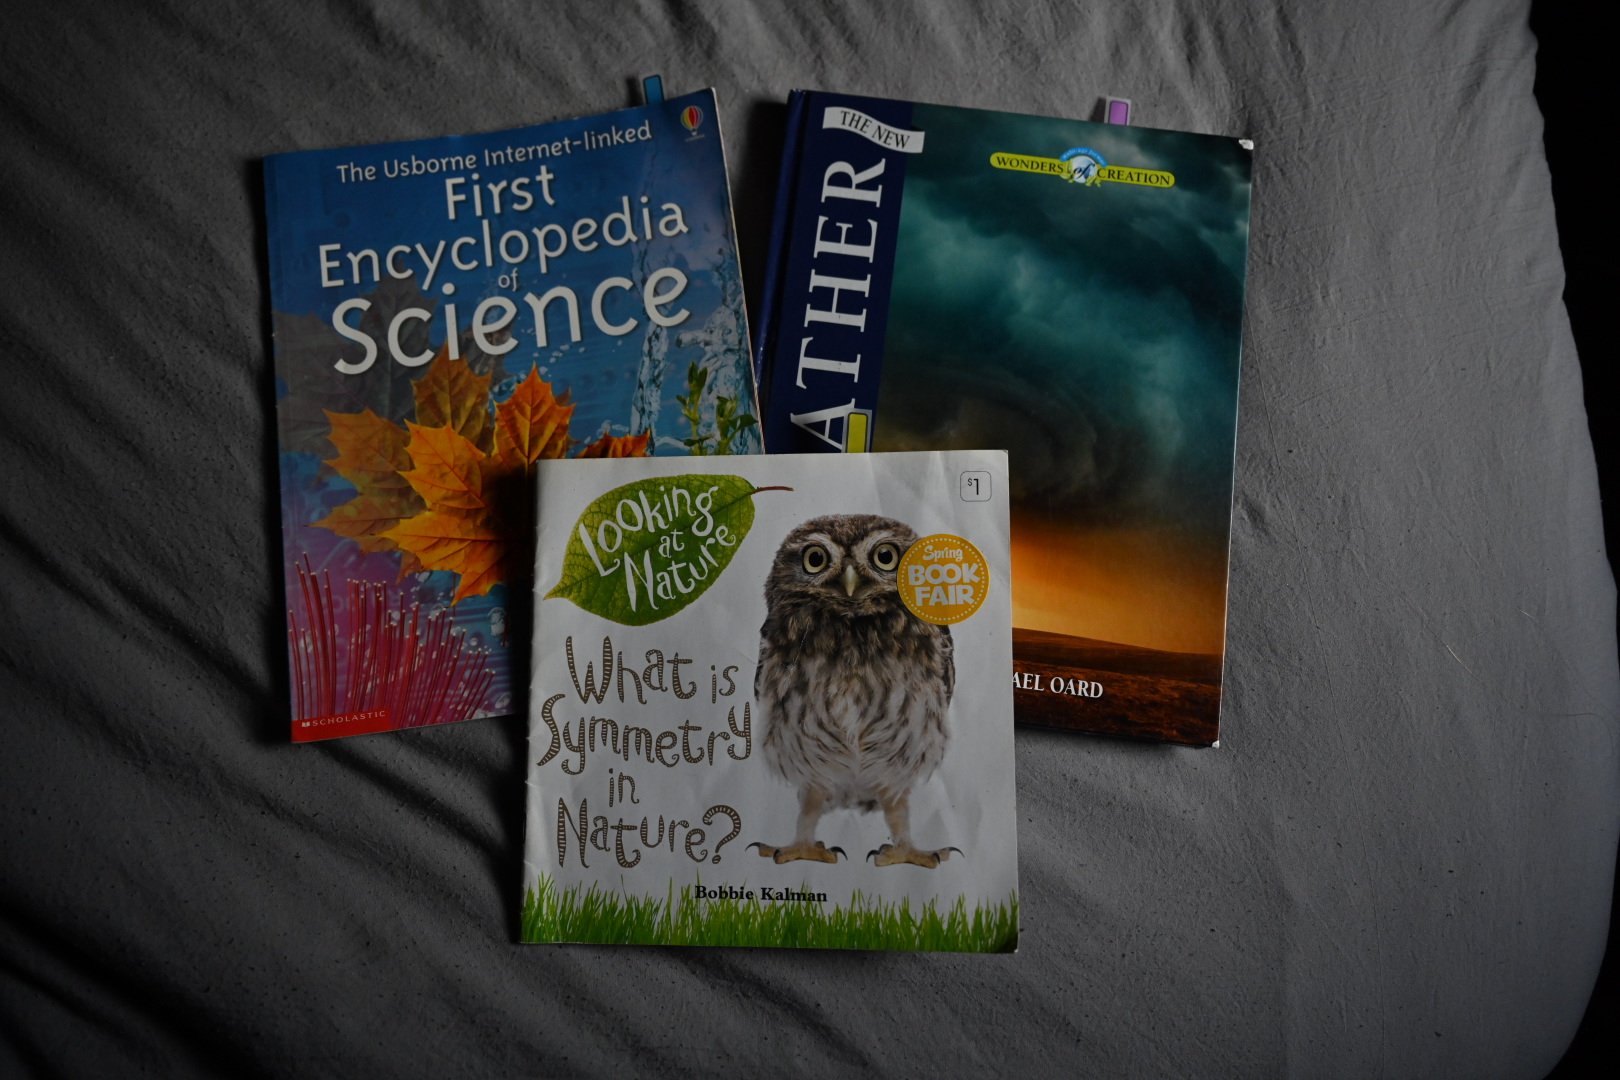
First up I read a little excerpt from the boys science book on weather.

I liked these books because they are written to cover multiple ages.

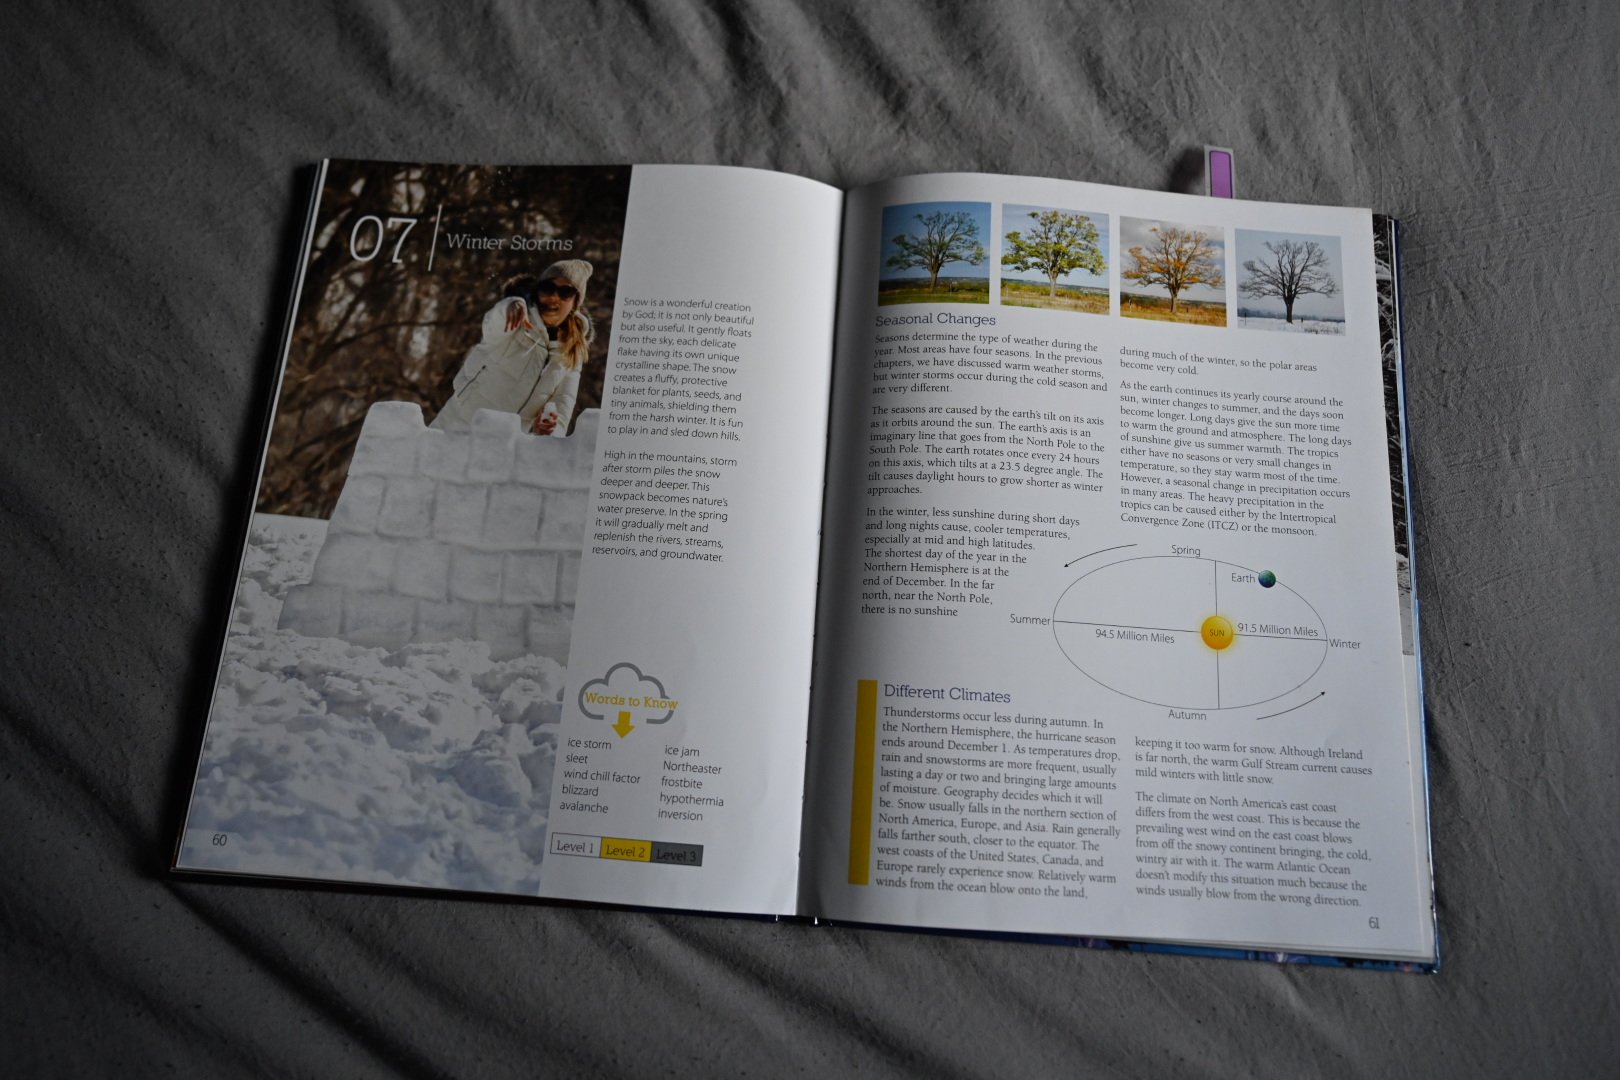
After learning about what snow is we made InstaSnow.

I had this in my science supplies already so it was a nice easy place to start.

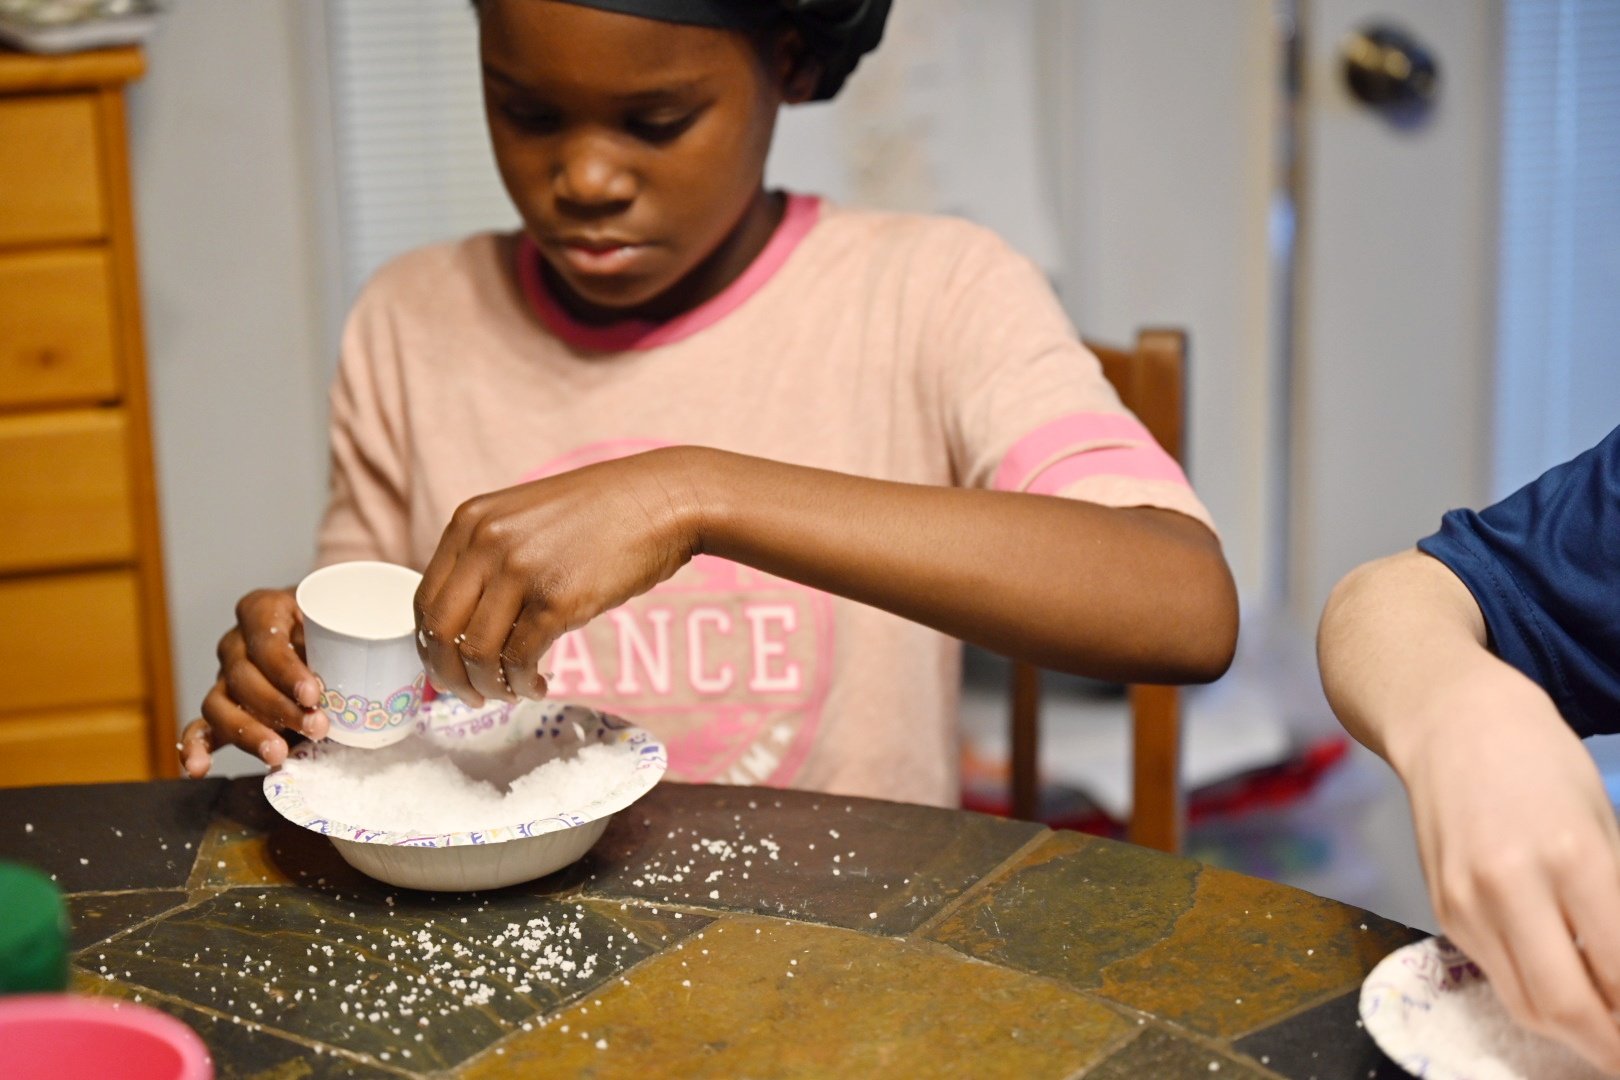
Even the boys wanted to join in.

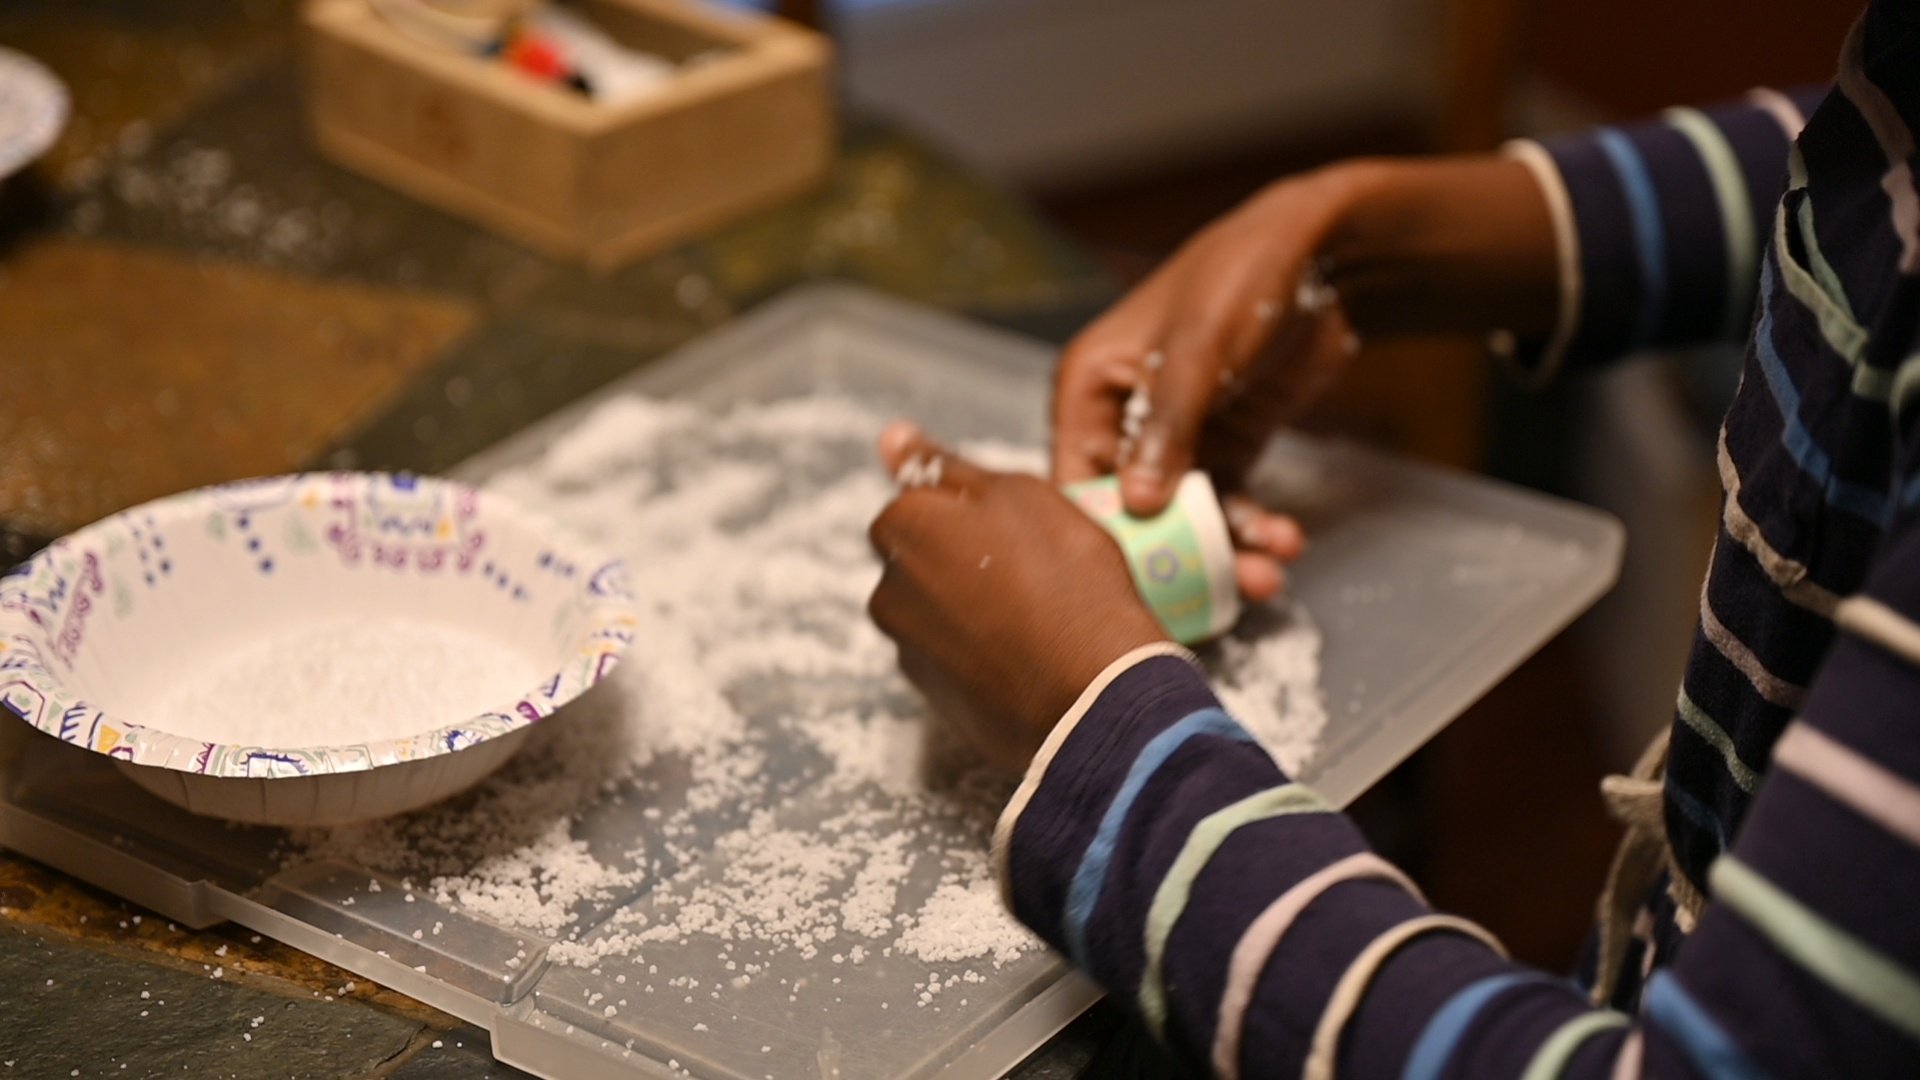
When we were done, we made a sensory bin out of it.

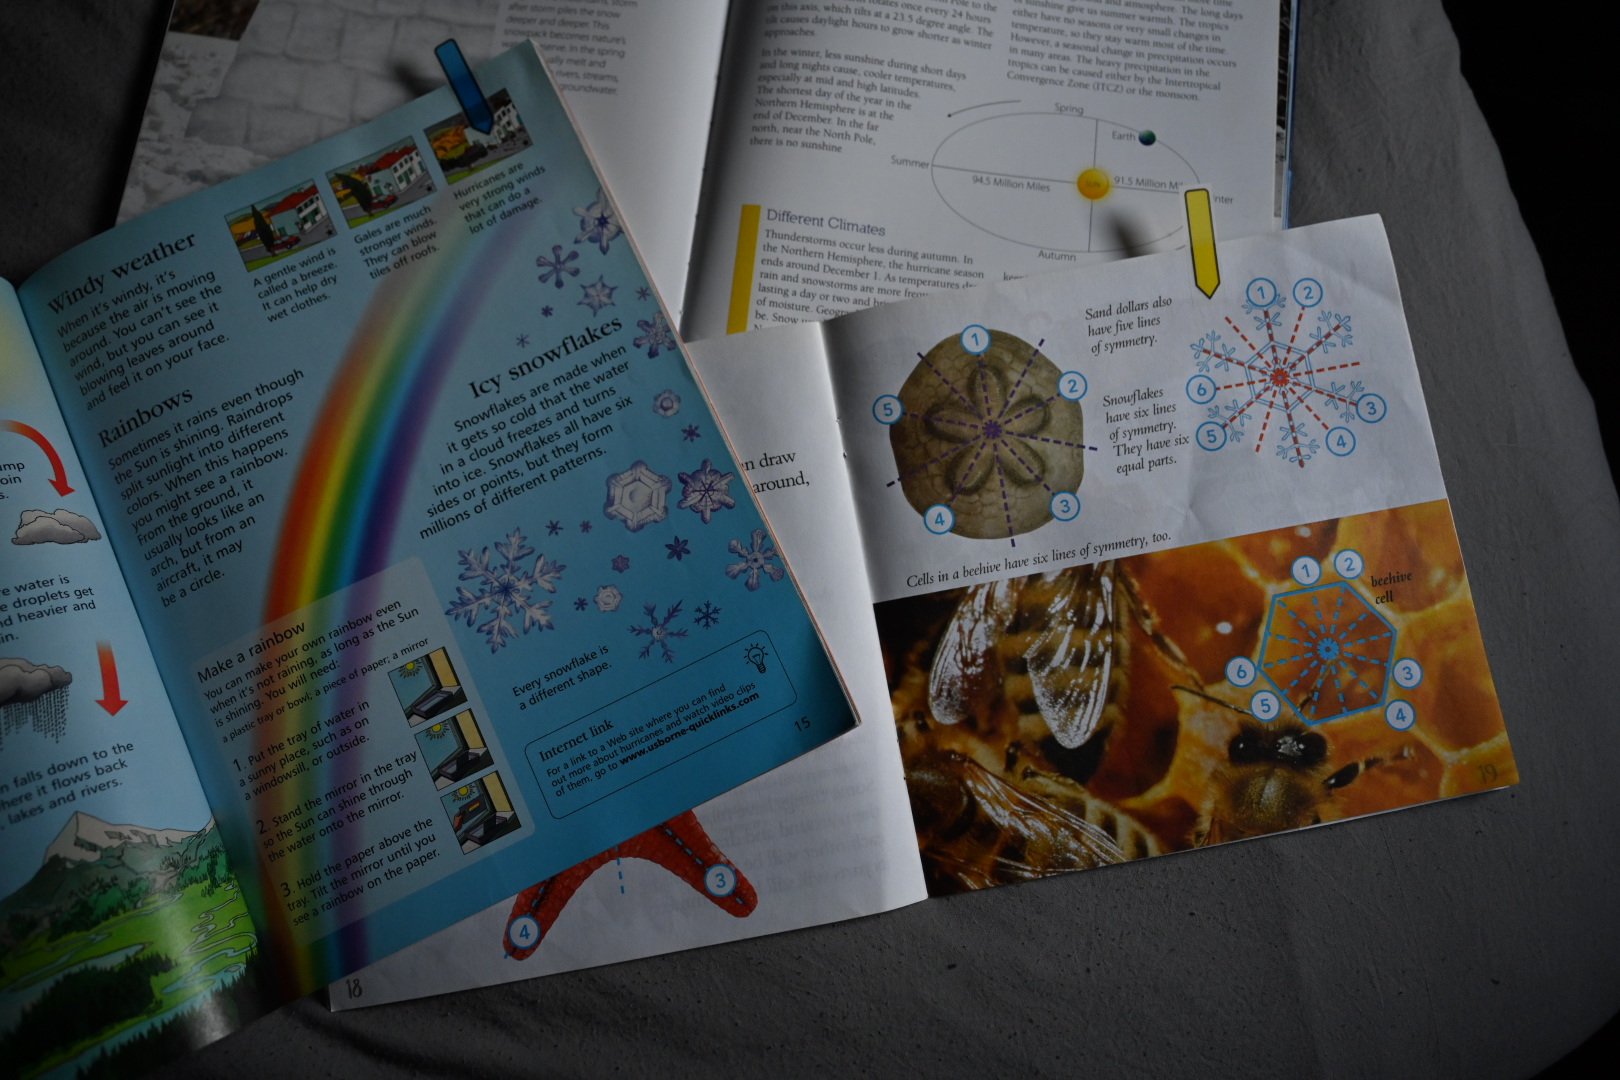
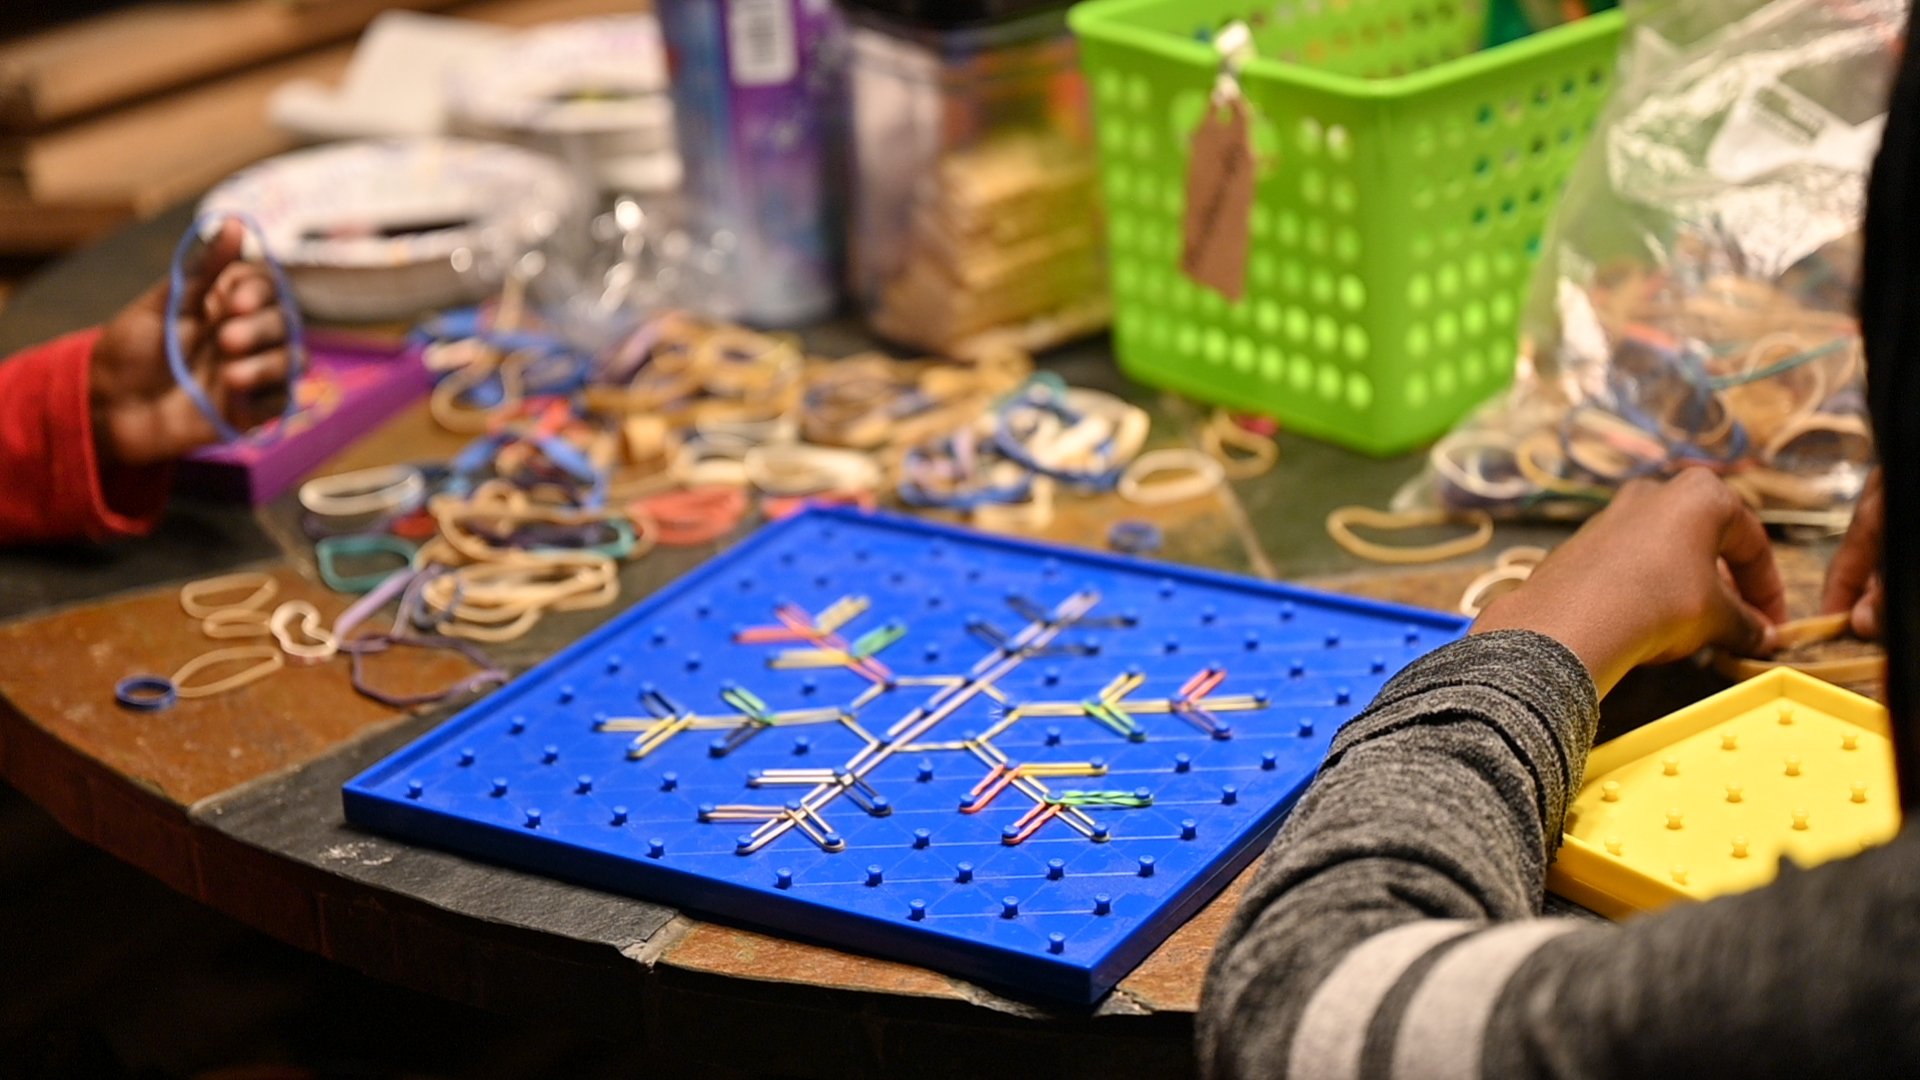
Next up we learned about snowflakes and their symmetry.

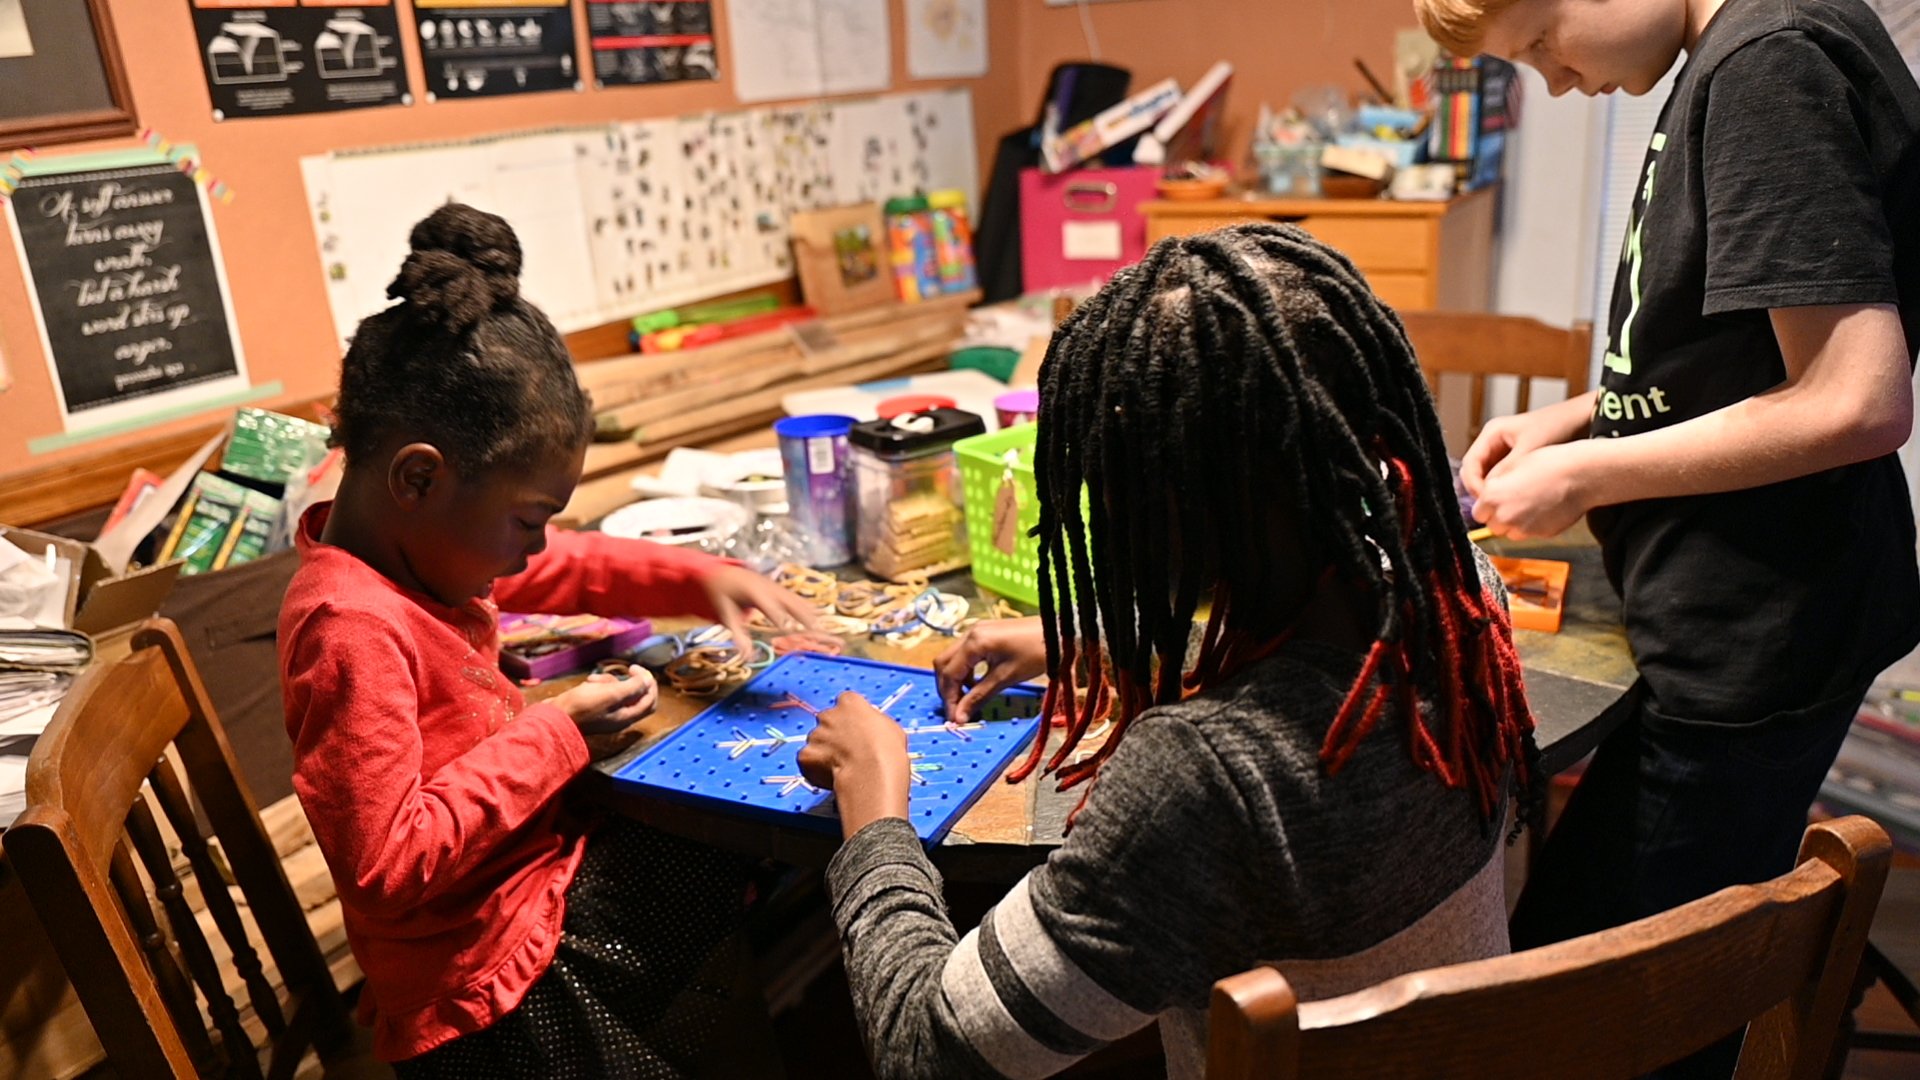
I found this idea to make a geoboard snowflake, here.

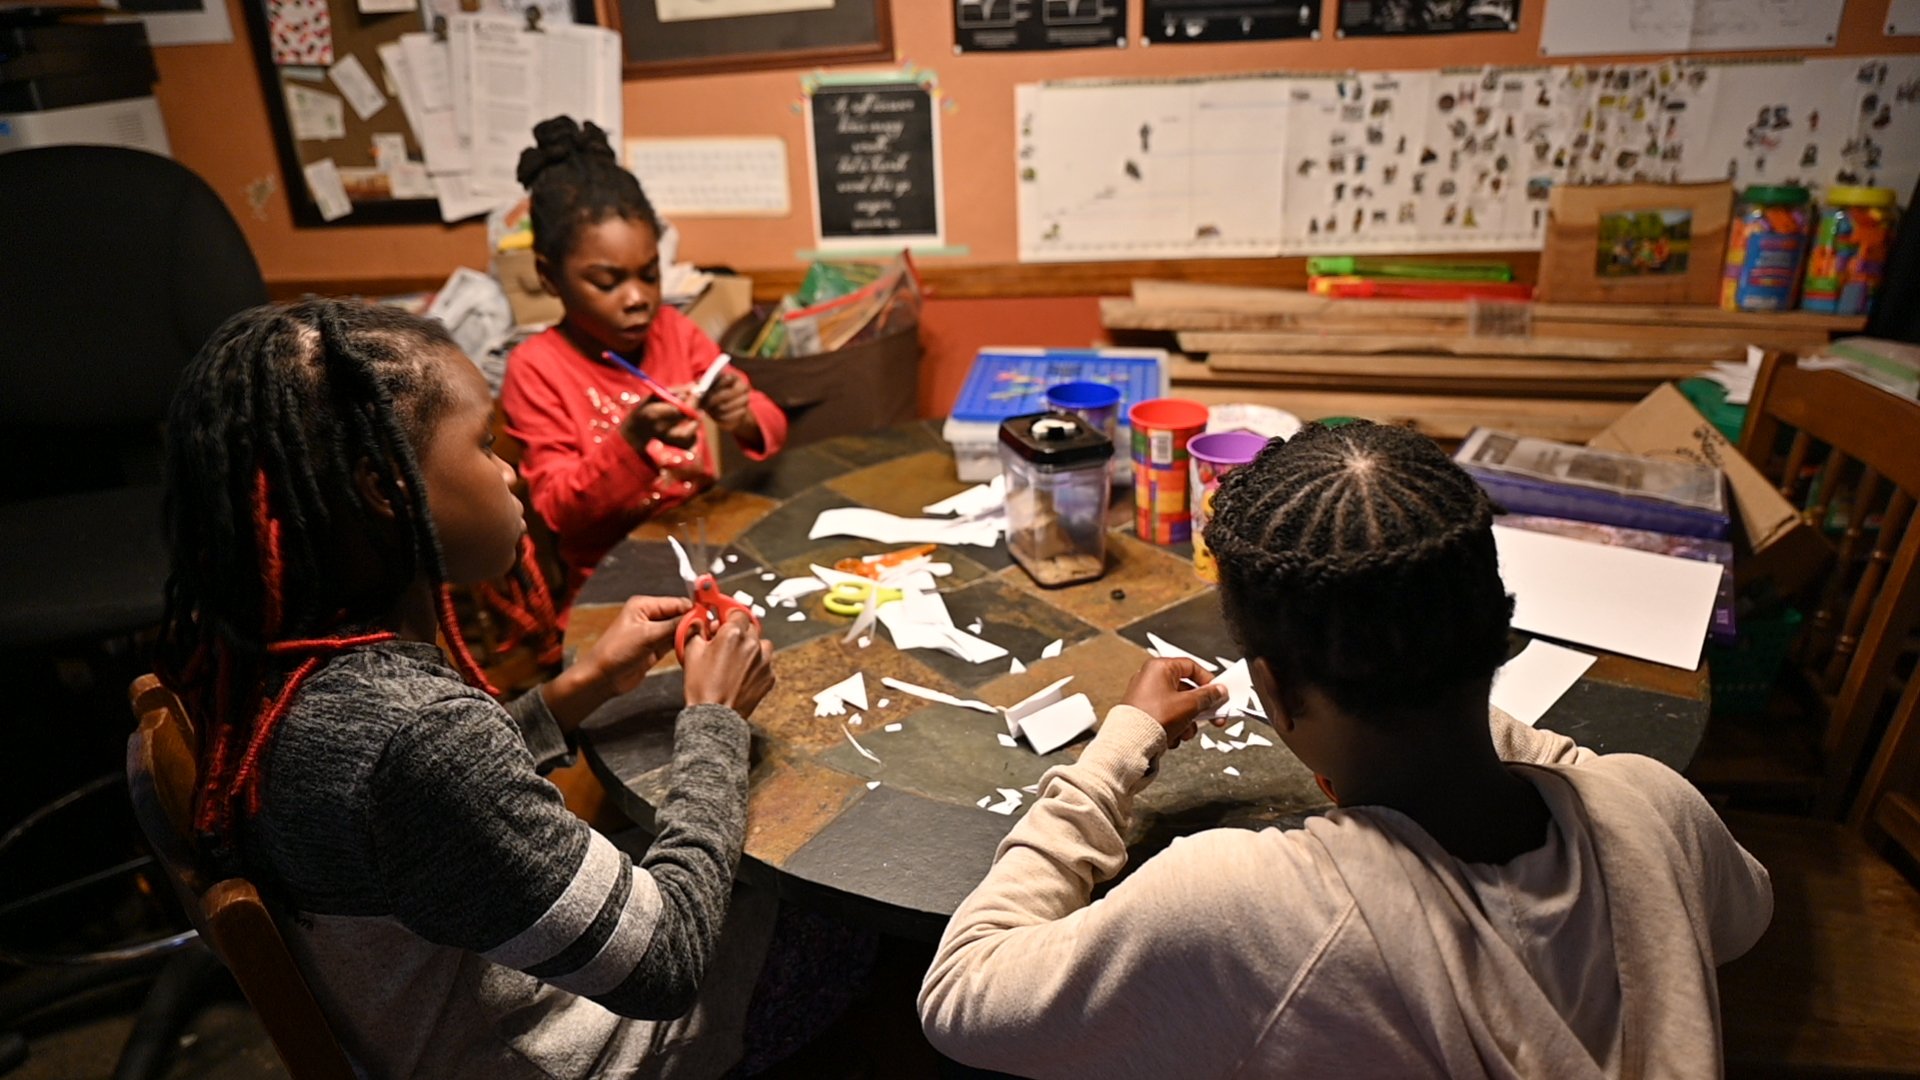
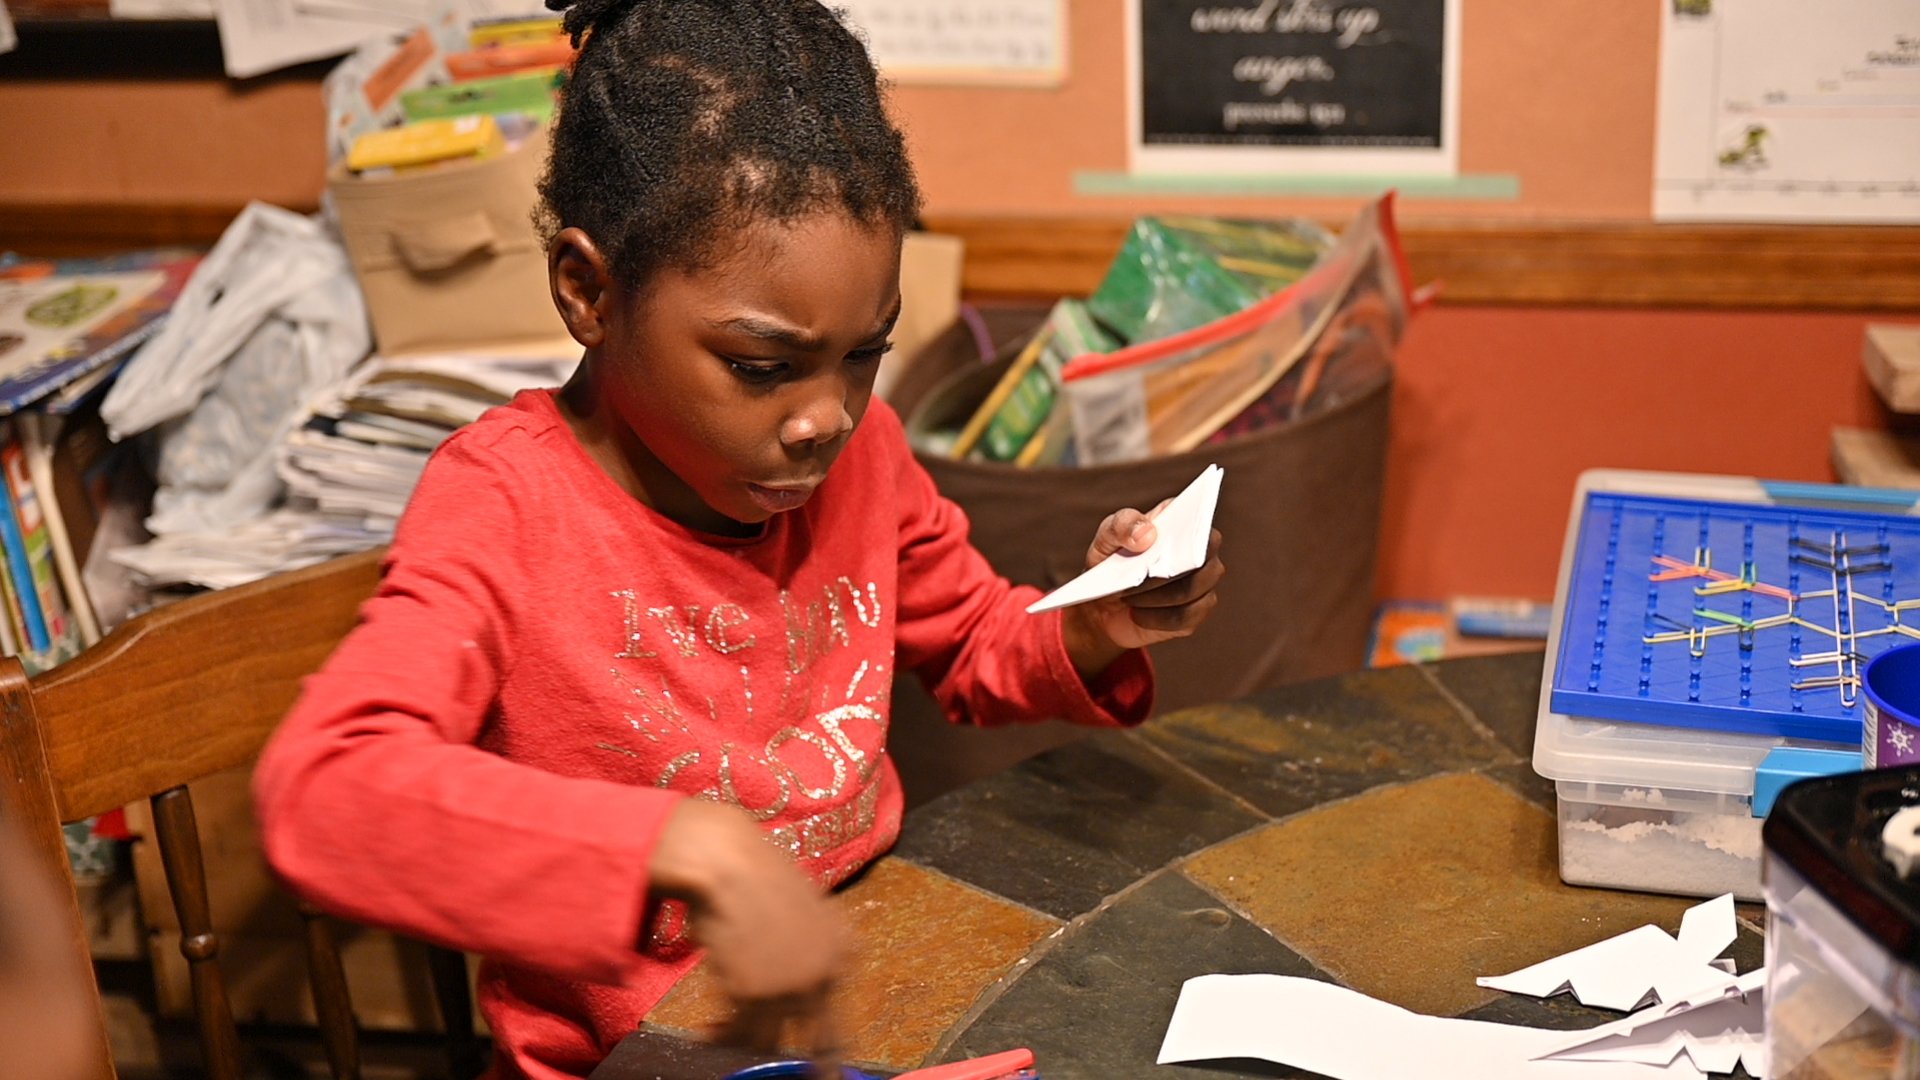
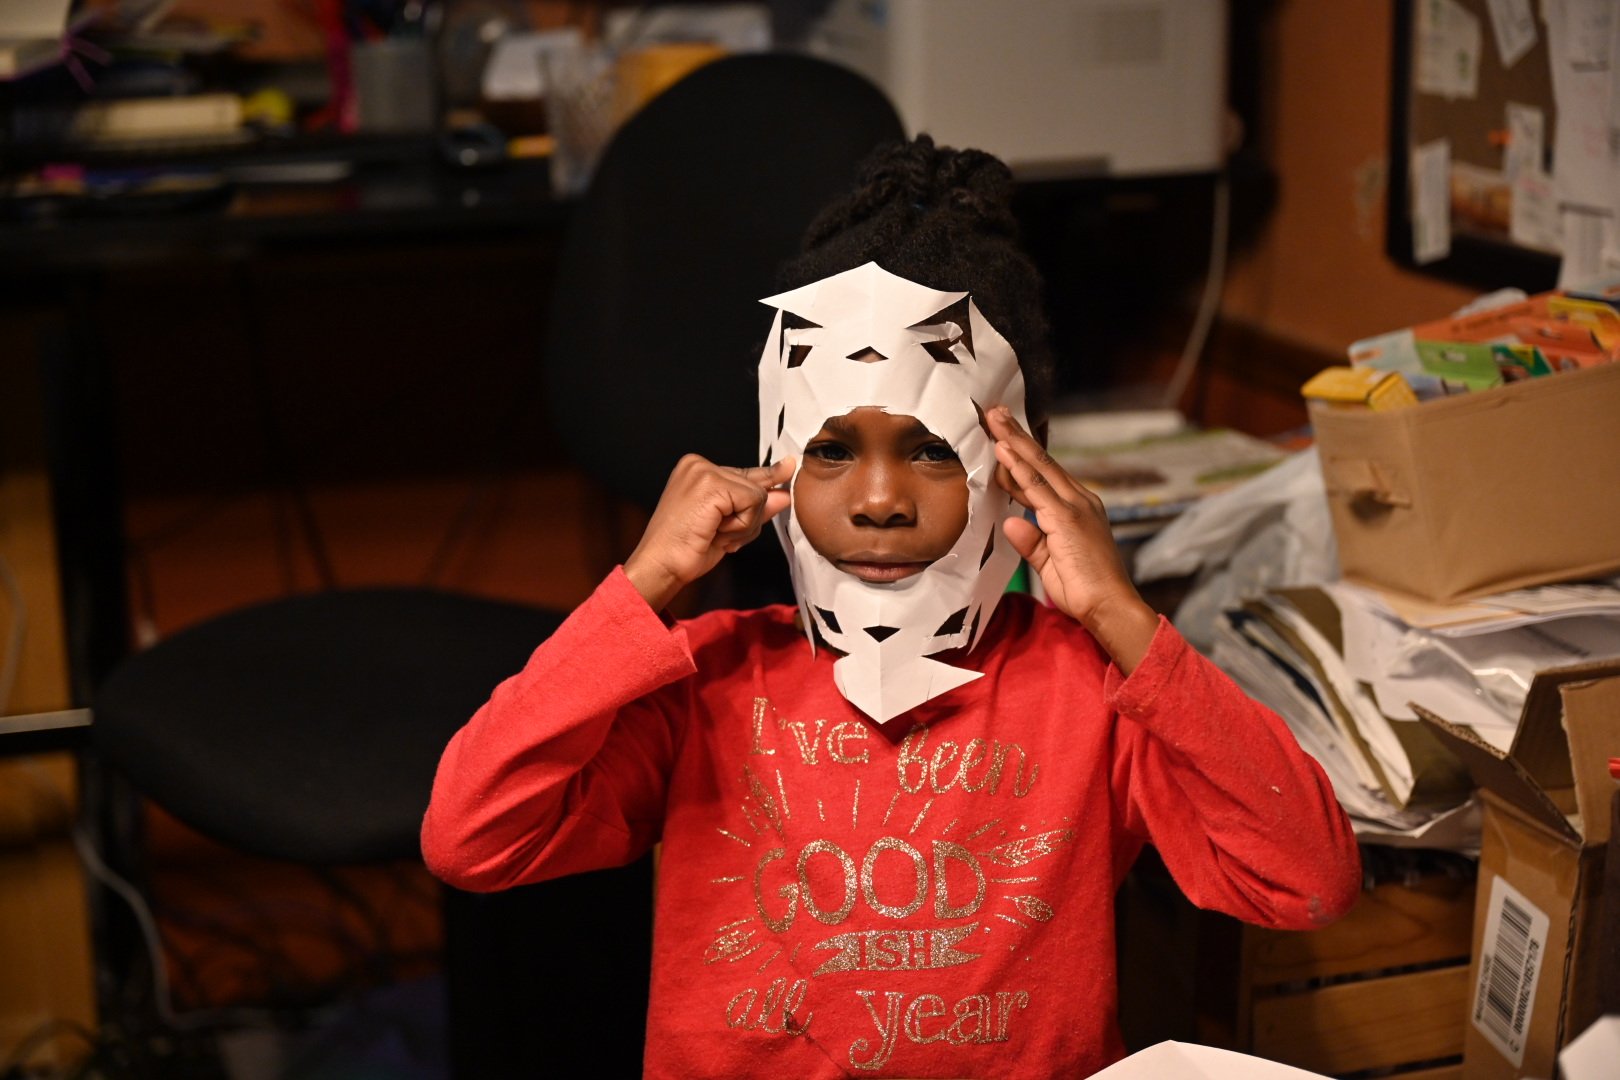
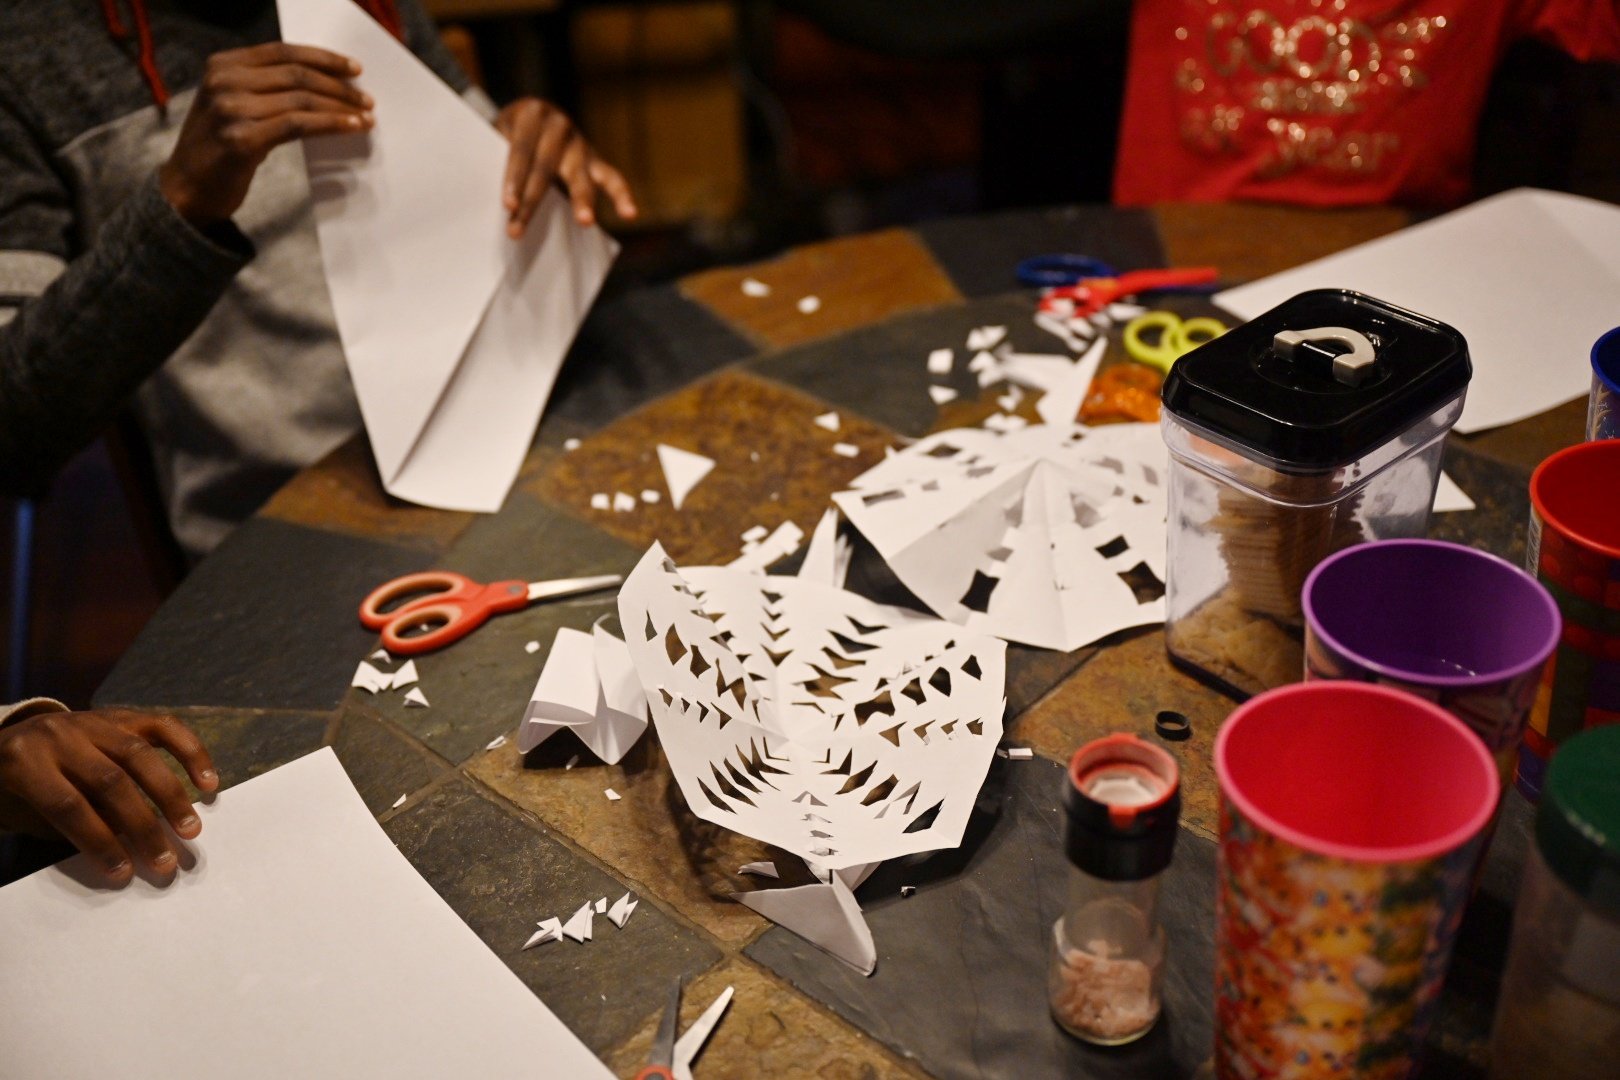
Next up we made paper snowflakes!

I used this tutorial.


The next day we read an online library book on snow that talked more about snowflakes, it was very easy to understand. I like to get the readers for science for the girls because they are usually written in simple terms.

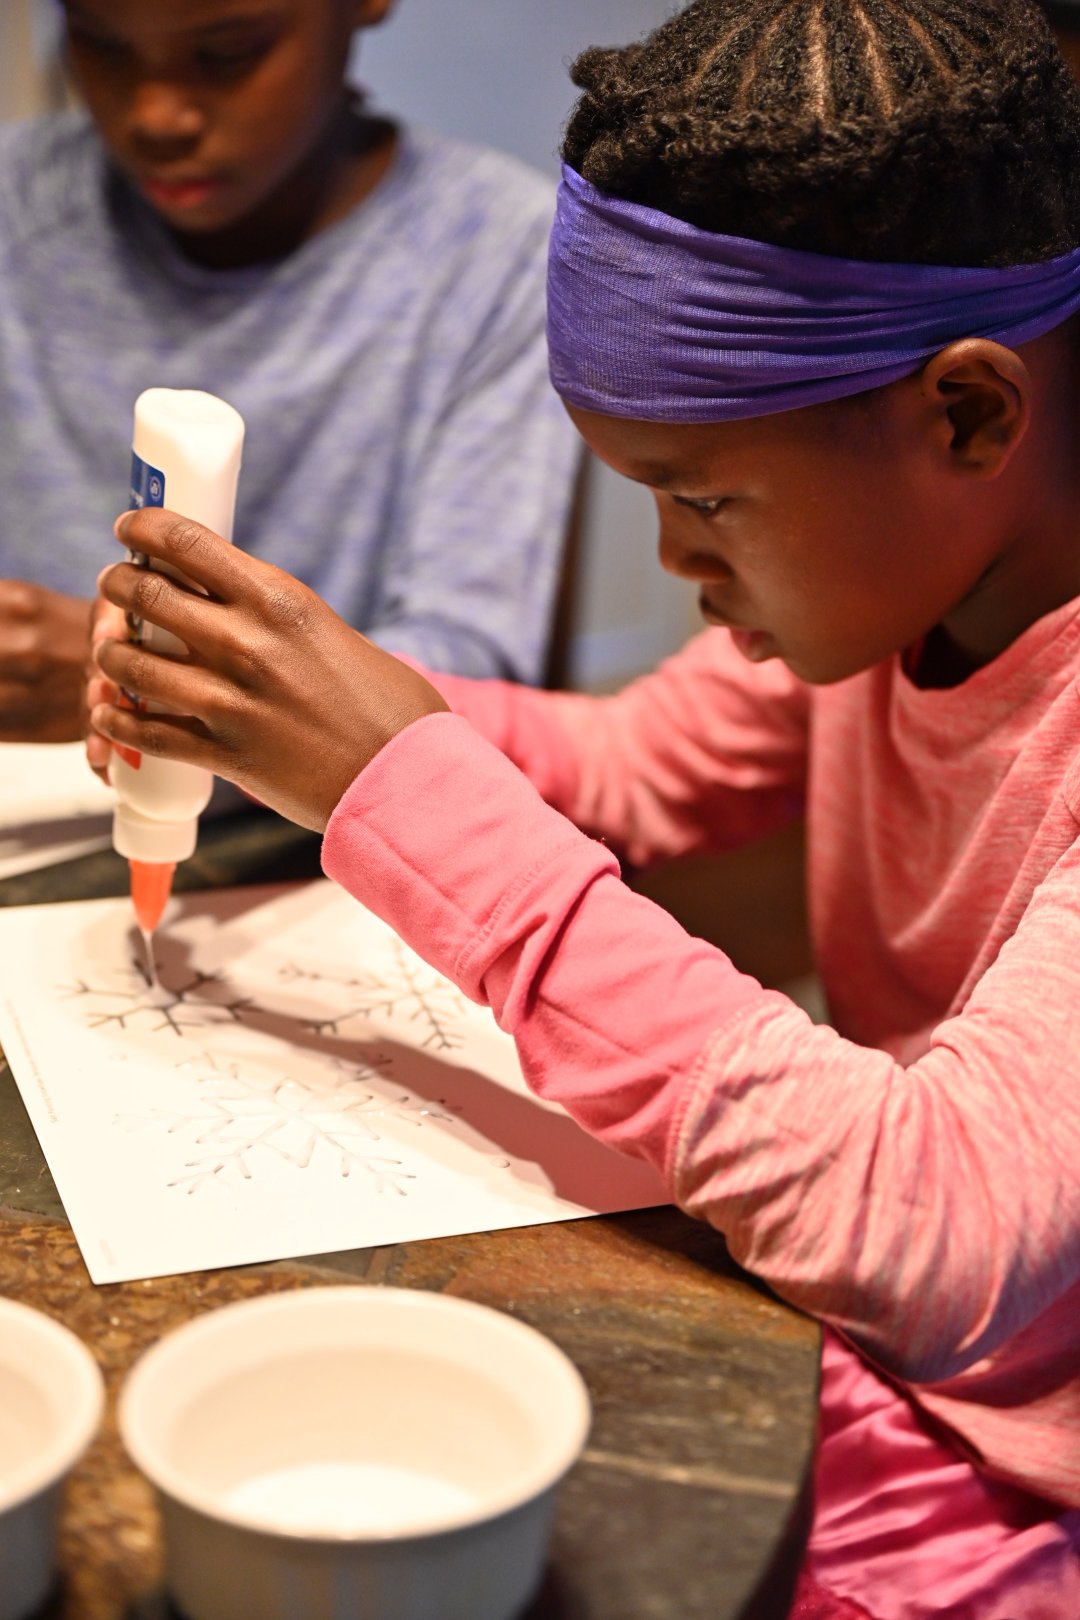
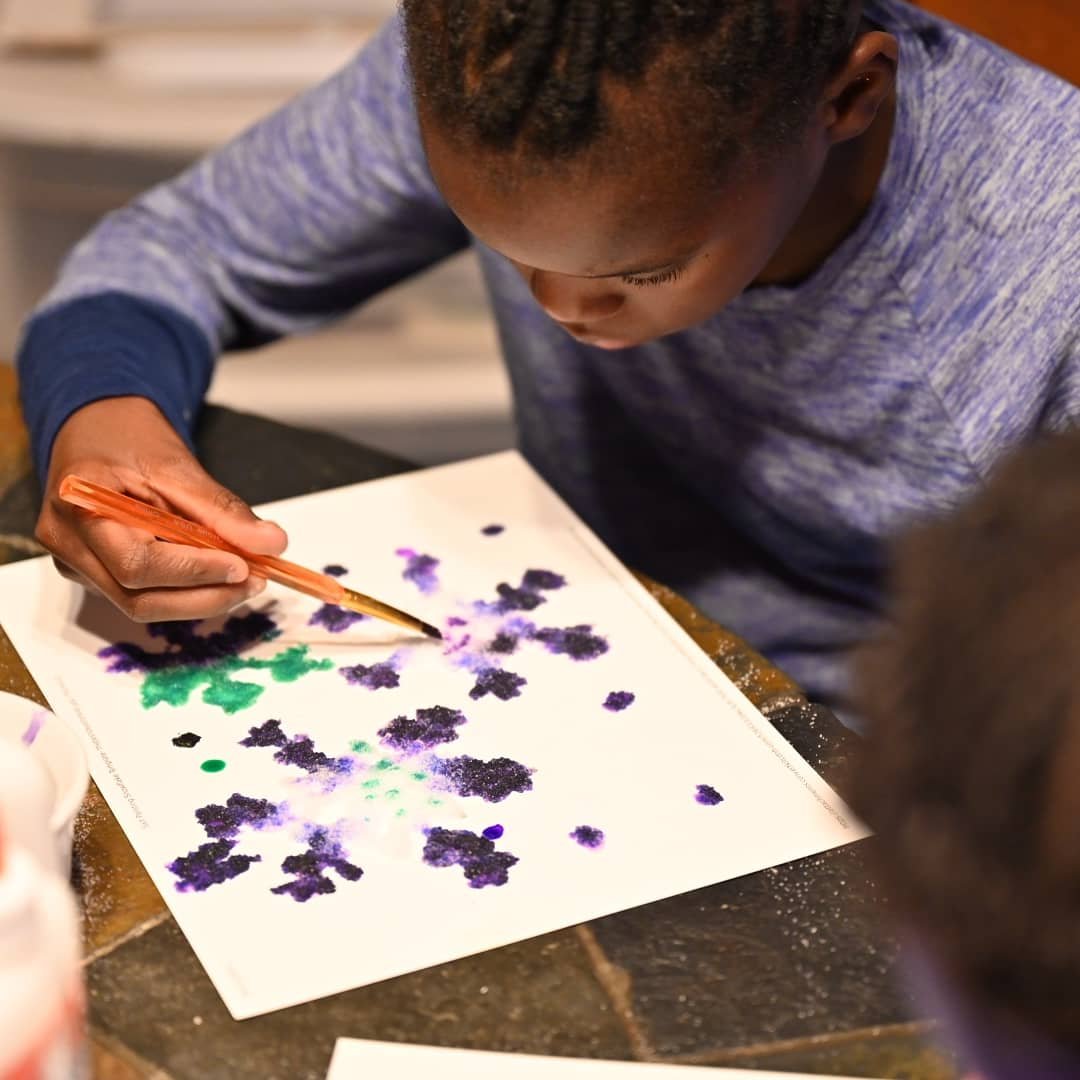
Then we made snowflake salt art!

The template and tutorial are here.

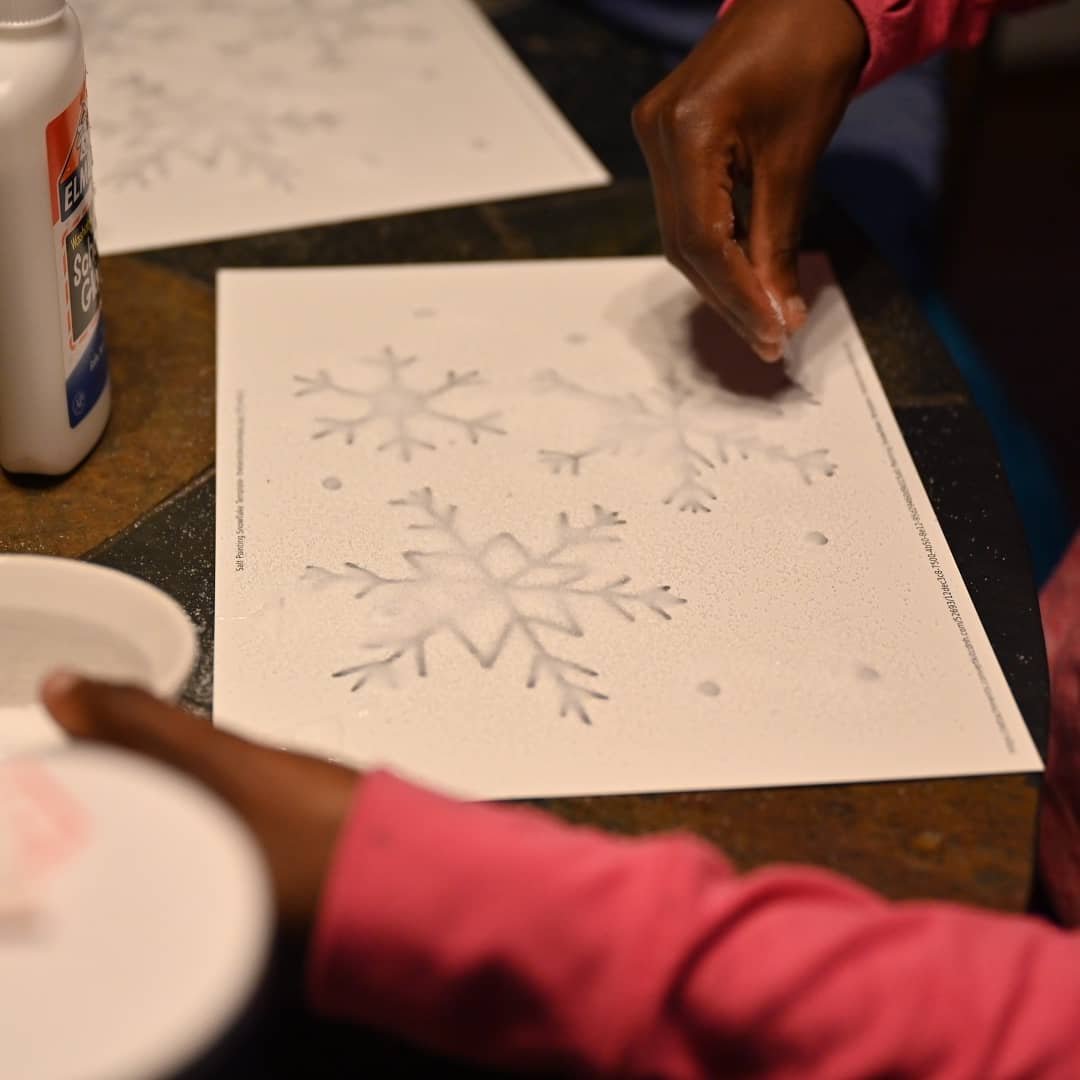
This ended up being such a fun project!

My plan is to learn about ice and melting this week and then move on to learning about Christmas traditions here and in other countries.

Here is my Pinterest board.

Kitchen utensil boards

I decided I wanted to hang up some things in my kitchen after seeing this pegboard at A Beautiful Mess.

The problem, the only wall in my kitchen is right where I have to open cabinet doors.

My husband helped me realize it would not work to hang a pegboard because it would stick out too far.

After trying to search online for a something thin to hang utensils on and failing, I decided to make my own.

My husband cut me two pieces of plywood and I painted them white.

Then I measured and marked every two inches, taped it off, and started painting.

I just used an outdoor craft paint I already had.

I took the tape off while the paint was still a little wet.

Now came the hard part!

I layed out all of the things I wanted to hang up and tried to figure out where I wanted them.

Then I marked the spot with a pencil.

I bought hooks from walmart to put in my boards but I hate trying to screw them in!

I found the easiest way was to hammer a small nail into the spot I wanted to put the screw, pull it out, then screw in a screw a little ways with a screwdriver.

I then took it out and screwed the hook in.

This worked vastly better then trying to just screw the hook straight into the board.

I bought small hooks and mug hooks.

It is best to check and make sure what you want to hang with work with the hooks first.

Some things were too big.

After I was done making the boards I screwed the boards directly to the wall.

I tried to find the wall studs but was unsuccessful (many, many times) despite the fact I was using a stud finder.

My husband had to show me where they were and they were not in the right spots for the boards.

The walls hate me.

I used anchors for three of the fours screws.

I was able to hit a stud for one of the screws (miracles do happen).

I used two hooks to hold up my menu board.

I have had it for a while and did not want to give it up!

I am glad I was able to work it in!

I used some white nails for things that did not fit well on the hooks.

After doing the first board I realized it would have been better to use nails instead of hooks on the top row.

It is a little harder to get the spoons off the hooks that are high up.

Other then that I really like them!

It helps me feel like I am using all of my space to it’s fullest also!

Lava is hot.

I might have mentioned before that I homeschool my boys.

They are 3 and 4 so it is not hardcore yet but I like to have a topic of study for each month to make it easier on me.

This month is Volcano’s.

Something I have come to realize about teaching a 3 and 4 year old is my expectations of what they will remember were set WAY too high.

If they remember that a volcano shoots something out of it, then I am doing good.

If they remember that lava is hot, then I deserve a gold medal.

And so forth, and so on.

We were reading the Magic School bus book on volcanoes and when I saw a recipe for making a volcano and I thought “sure, why not?”.

So I asked my boys if they wanted to make a volcano and of course being typical boys they said, no.

Yeah, right.

So I got to work figuring out what we had lying around to make a volcano.

I could have gone to the walmart but I am cheap and lazy…

And hey, we needed it NOW!

So this is what we had.

Old vanilla bottles(I think they are cute so I never get rid of them)

Vinegar

Red food coloring

Baking Soda

Playdough(they recommend modeling clay but I did not have any)

Dishwashing Soap

Patience is not a virtue my 3yr old possess yet.

Baking soda first.

Dish washing soap and red dye next.

Then some playdough for the outside.

My son and I had to have a little talk about the word dye vs. die.

When I told him it was dye on his hands he started crying saying he did not want to die…

I probably should have been helping more and taking pictures less.

I was yelling(while taking the picture), TAKE IT OUT!

A little tip.

Use a nice washable tablecloth(like the one I had in the closet) so as not to stain the tile table.

I asked my youngest what he was doing with his hands.

He said, “the people are dieing and need to go in the ambulance”.

Maybe a little too much PBS.

I am hearing this the whole time, “help, help, it’s getting me”.

Boys…

We of course had to do it again.

And again.

More people in need of an ambulance.

I was really surprised that my oldest was not playing in it also.

When I asked him why, he said he did not want to be burned.

I quickly told him it was not real lava…

My poor son thought I was trying to burn him.

No, I do not let my children play with molten lava.