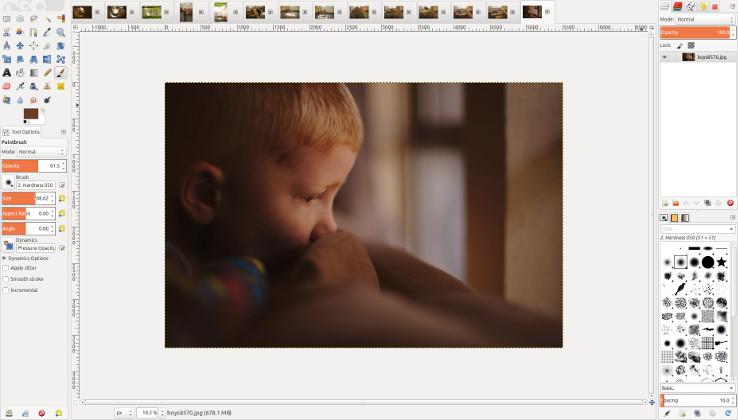
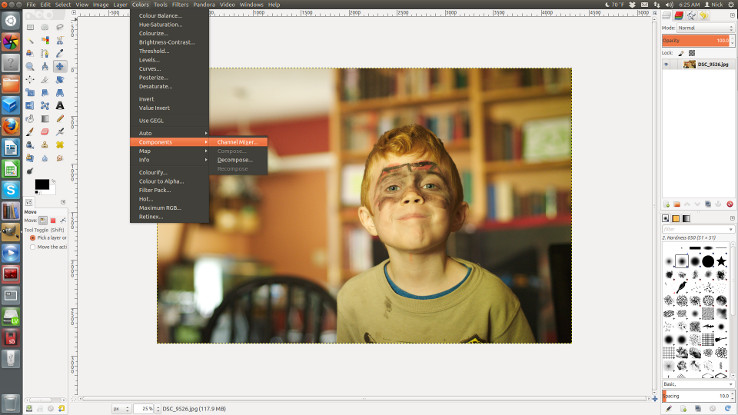
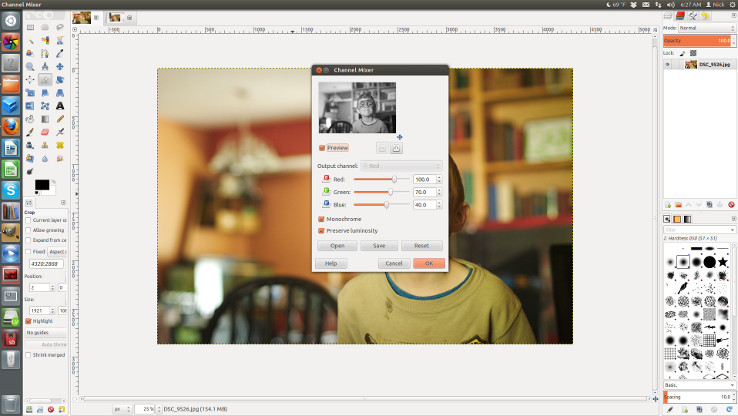
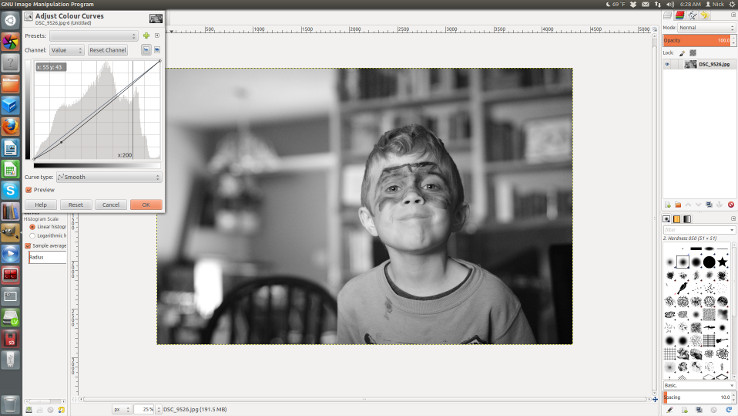
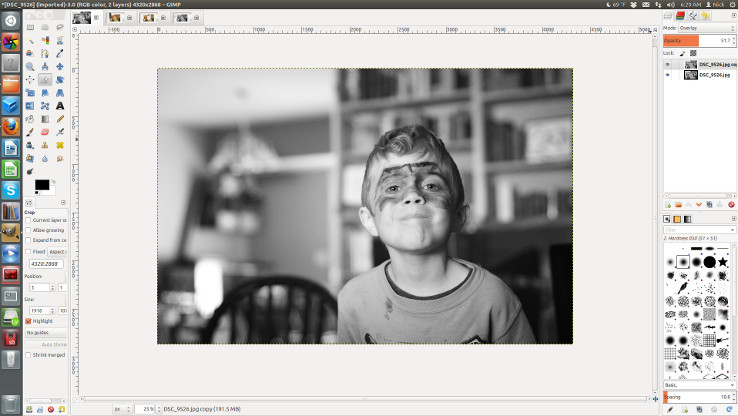
I edit all of my jpg’s on an open source program called the Gimp.
I have heard from a couple people who have tried it and have gotten aggravated when they could not figure out how to use it.
Here are the basic steps I use the most.

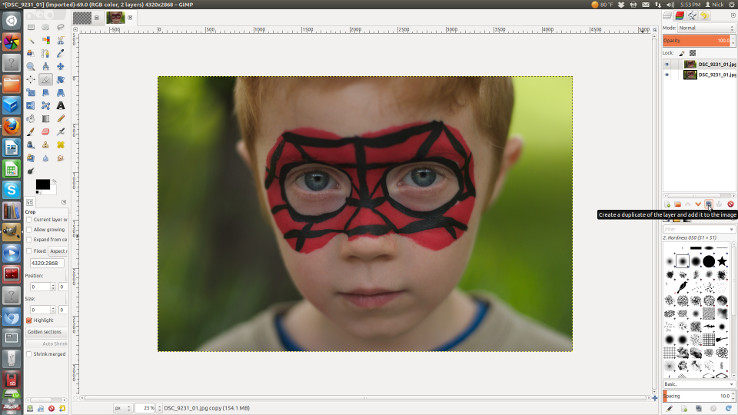
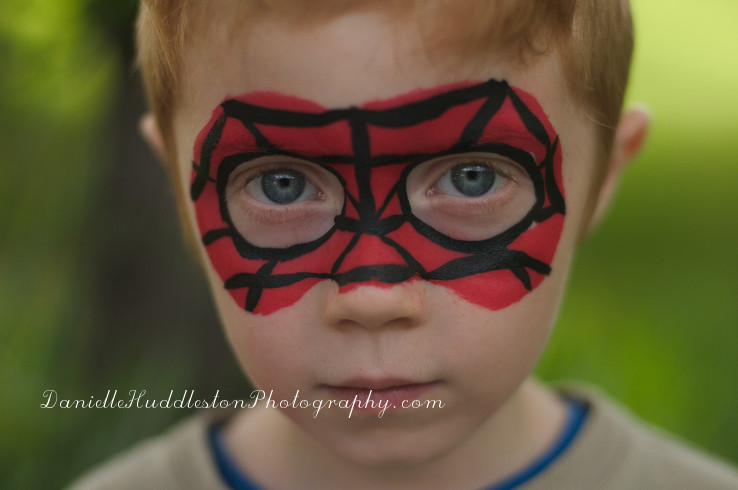
This image is too dark.
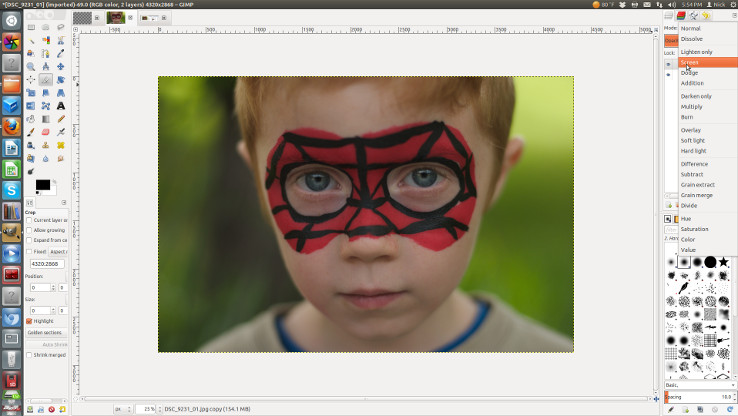
One way of fixing that that in the Gimp is using the Screen option on the toolbar on the top right.
First duplicate layer, using the little icon on the top right or Ctrl + Shift +D.
I am a shortcut junky, so I will be sharing as many as I can.
 Make sure the top layer is selected when you change the mode from normal to screen.
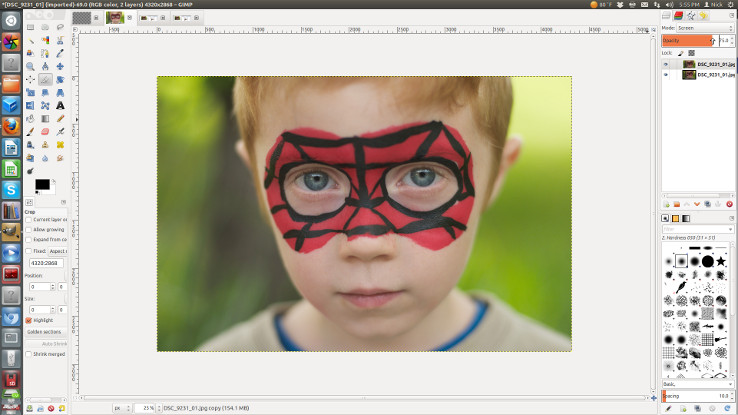
 Adjust the opacity to where you want it.
I do not normally need to set the opacity so high but I intentionally underexposed this picture so I could edit it.
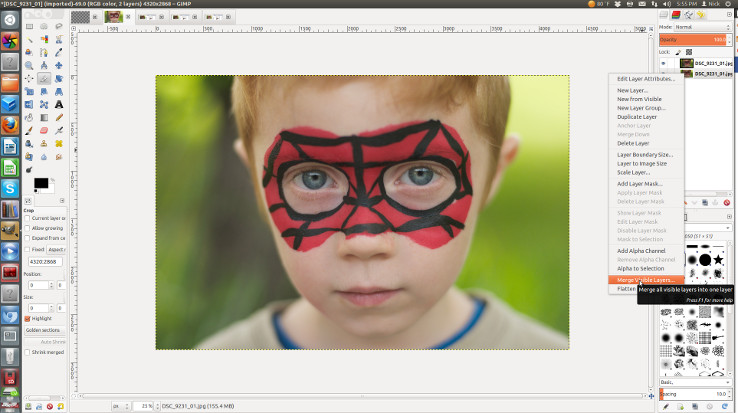
 Merge layers by right clicking on a layer and selecting merge layers or by hitting Ctrl +M.
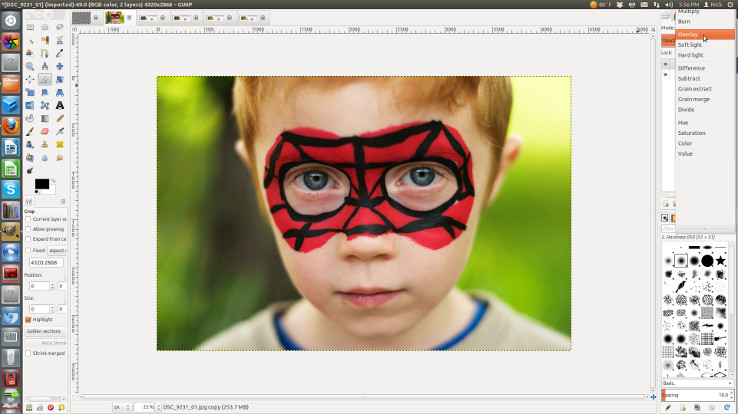
 Add a new layer and select Overlay to give your pictures a little more pop.
It boost’s the colors and saturates them a little more.
I recommend setting the opacity at 50% or less.
Merge your layers again.
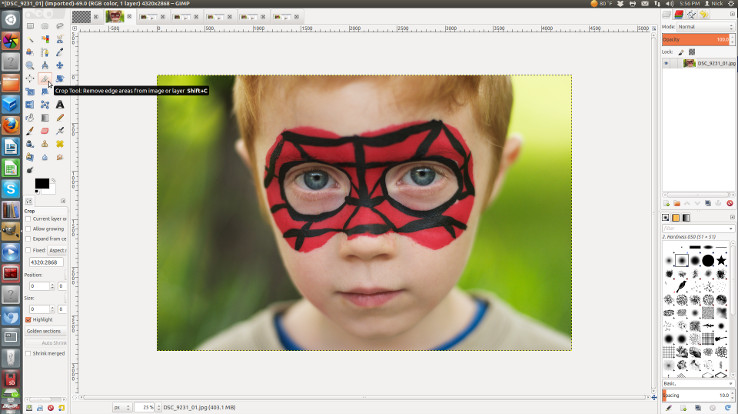
 To crop, select the crop icon from the toolbar on the left.
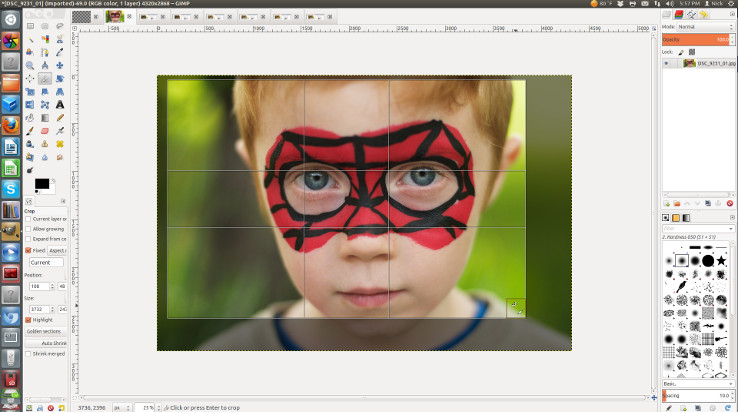
Then click and drag on the picture to make a box.
 If you would like to keep it the same aspect ratio, you need to select fixed in the tool options on the bottom right.
There are also guides that you can turn on.
Just click on “no guides” in the same options and change to what you want.
Click on the middle of the picture to crop.
 The very last thing I do is sharpen the picture.
It is best to do the sharpening and resizing very last.
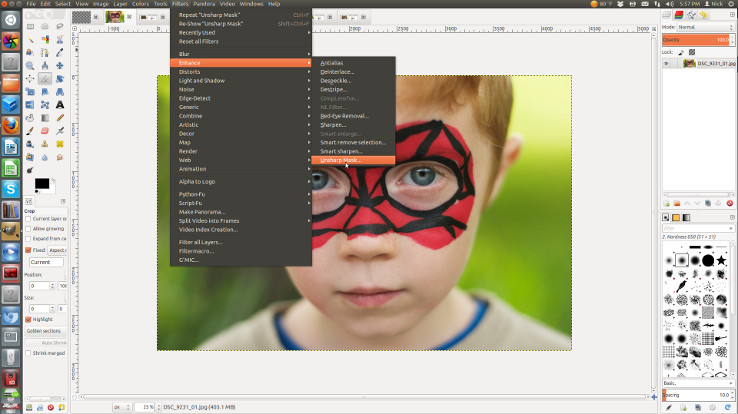
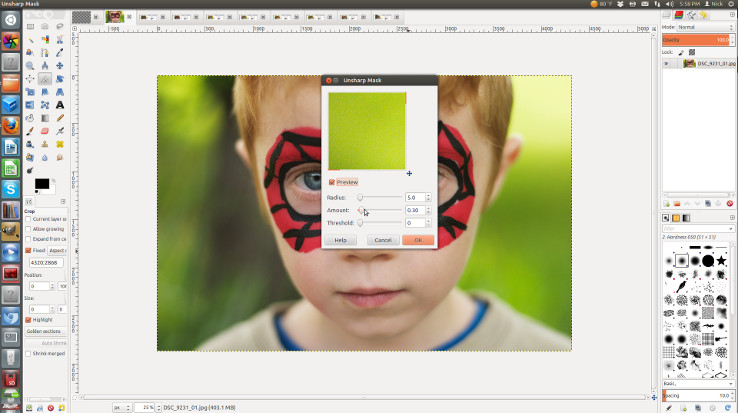
Go to Filters/Enhance/Unsharp Mask.
 I like 30% on amount.
This works for my camera, you may need a different setting for yours.
I do not normally adjust any of the other dials.
Go to File/Export to save your newly edited picture or hit Ctrl + Shift + E.
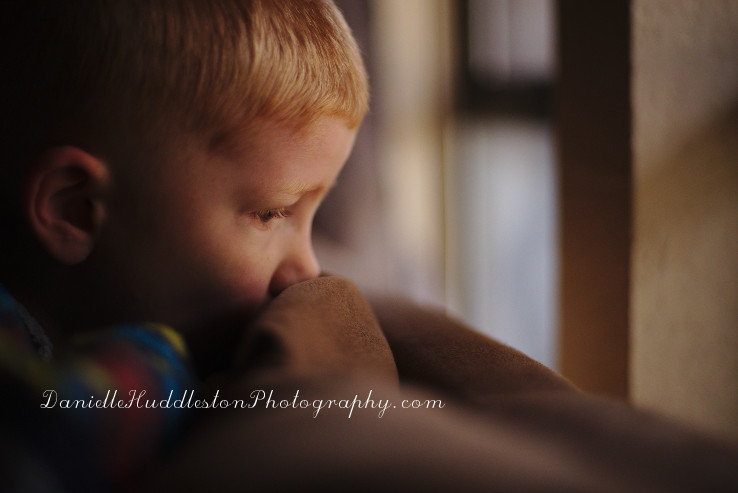
 With those couple steps, I went from this.
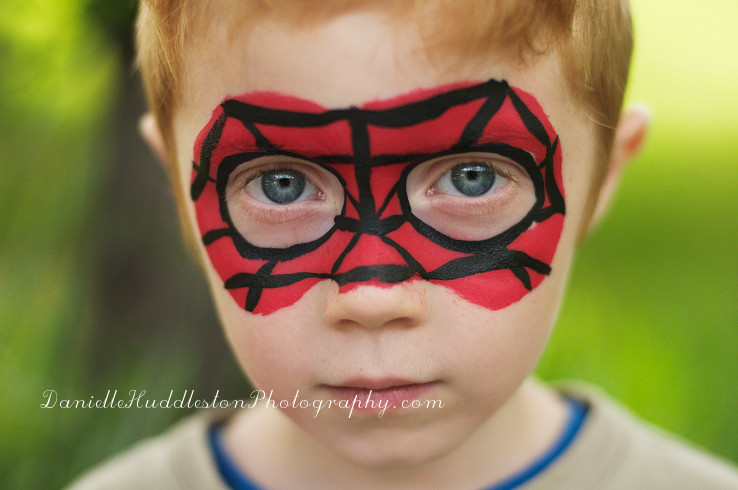
 To this.
The best part about the Gimp is that it is free!
I use only this program for editing jpg’s and have for years.
I know that the Gimp can be a bit overwhelming when you first start.
I hope this helps you get your feet in the wet, it really is an amazing program.
If you like to add textures to your pictures, Jessica Drossin has a really good tutorial on how to do it using the Gimp!
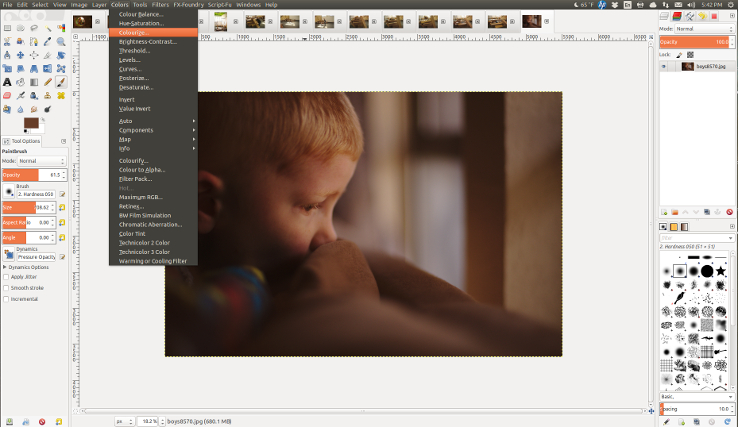
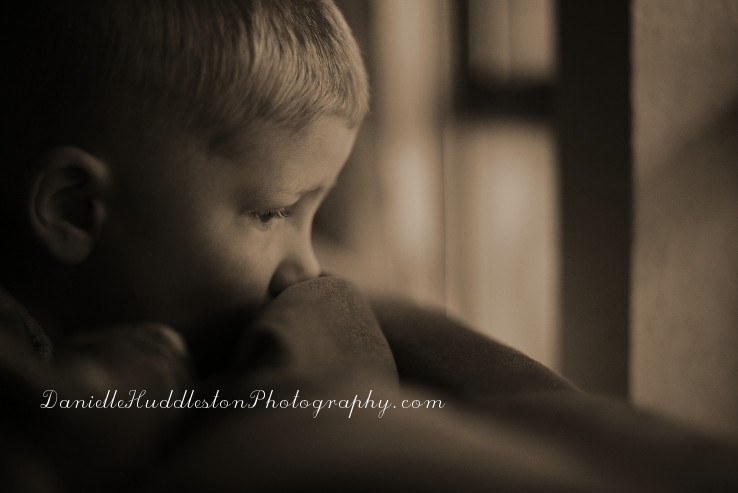
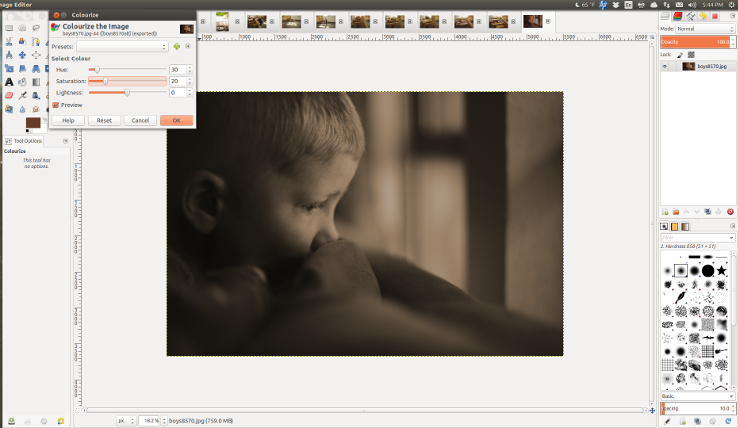 Change the settings in Colourize to:
