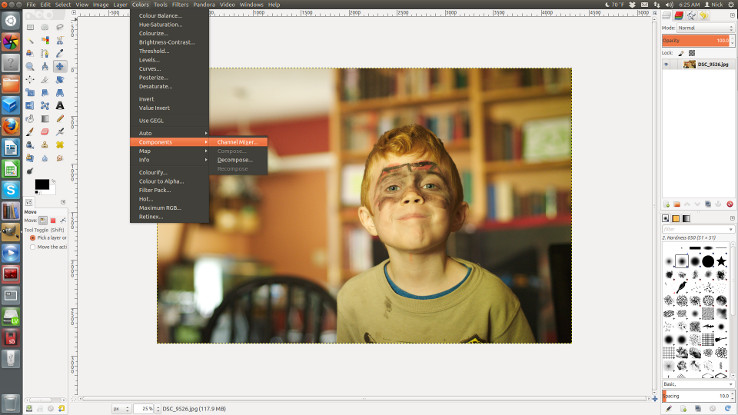
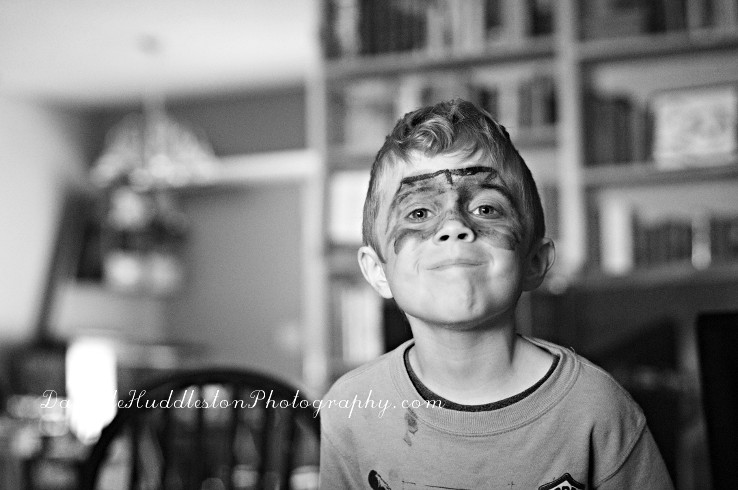
This is how to convert your image to black and white using the Gimp.
To learn more about using the Gimp check out my first post, here.
I shot this image in my house and the couch threw an ugly color cast into my son’s face.
That is one of the reasons I knew while taking it I would like this picture a lot more in black and white.
Go to Colors/Components/Channel Mixer.
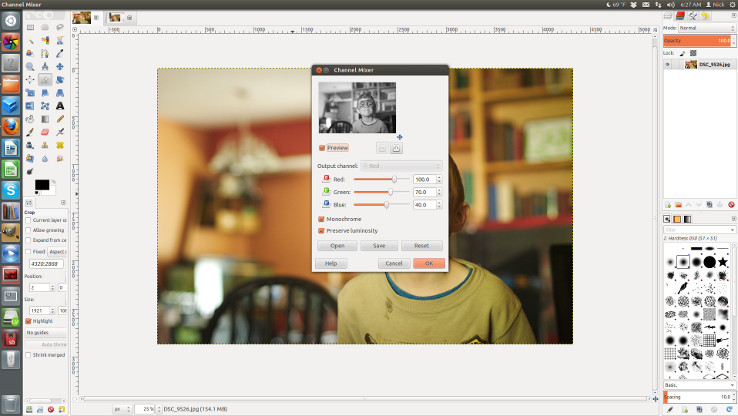 Select Monochrome and Preserve luminosity.
I like to set the my Channels around 100% for red, 70% for green, and 40% for blue for most of my conversions.
Select OK.
If you want your red’s to be darker, lower your percentage on the red channel or add more green.
If you want the red’s to be lighter then raise the percentage of red or lower the percentage of green.
If you want green or blue, to be lighter or darker raise or lower them as well.
Play around with the channels to see what effect they have on your black and white image.
There are a few different ways to add contrast to your black and white in post production.
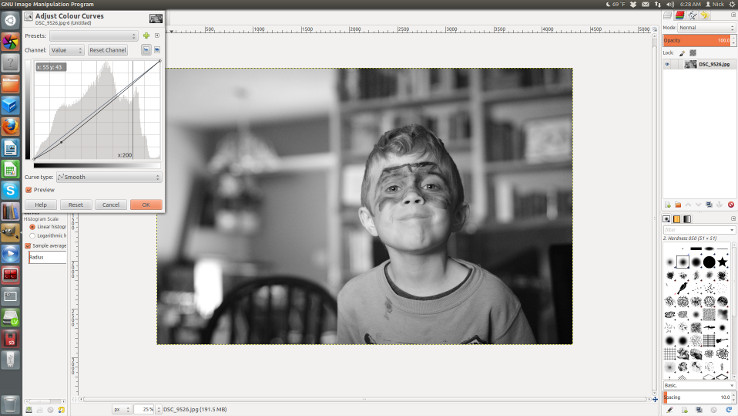
You can adjust the Curves by going to Colors/Curves and then dragging the middle line where you want it.
Usually you are going for an S shape curve to add contrast.
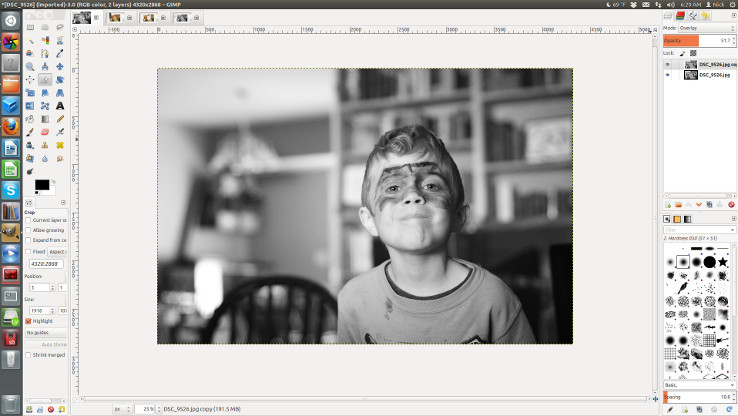 You can also do an Overlay layer to give it more contrast.
You can read more about the overlay layer in this post.
I usually use either the curves or the overlay layer, not necessarily both.
Here is a tutorial on how to take better black and white images.

