How I edit all my photo’s for free ~Part 2 B&W Conversion

This is how to convert your image to black and white using the Gimp.

To learn more about using the Gimp check out my first post, here.

I shot this image in my house and the couch threw an ugly color cast into my son’s face.

That is one of the reasons I knew while taking it I would like this picture a lot more in black and white.

Go to Colors/Components/Channel Mixer.

Select Monochrome and Preserve luminosity.

I like to set the my Channels around 100% for red, 70% for green, and 40% for blue for most of my conversions.

Select OK.

If you want your red’s to be darker, lower your percentage on the red channel or add more green.

If you want the red’s to be lighter then raise the percentage of red or lower the percentage of green.

If you want green or blue, to be lighter or darker raise or lower them as well.

Play around with the channels to see what effect they have on your black and white image.

There are a few different ways to add contrast to your black and white in post production.

You can adjust the Curves by going to Colors/Curves and then dragging the middle line where you want it.

Usually you are going for an S shape curve to add contrast.

You can also do an Overlay layer to give it more contrast.

You can read more about the overlay layer in this post.

I usually use either the curves or the overlay layer, not necessarily both.

My finished image.

Here is a tutorial on how to take better black and white images.

Sometimes I forget…

Sometimes I forget I have boys. I know that sounds odd but I do!

Almost two years ago I made my boys a rope swing, it worked but the rope was a little stretching so someone bigger (me) could not swing on it without dragging on the ground.

It was not in a the prettiest location either. We have a shortage of trees with big branches here for some reason.

I wanted it on the big cottonwood tree in the front of our yard but it was too close to the road so it ended up between our house and the shed.

I have had visions of a beautiful swing in that cottonwood ever since.

Last week I could not stand it any longer and bought myself some thicker, less stretchy rope.

With the thought that I would make a swing that everyone could use in the cottonwood tree.

Like bigger children of course…

I ended up not getting enough (that stuff is expensive and I am cheap!) so I left one end tied to the tree while I tried to figure out what I wanted to do.

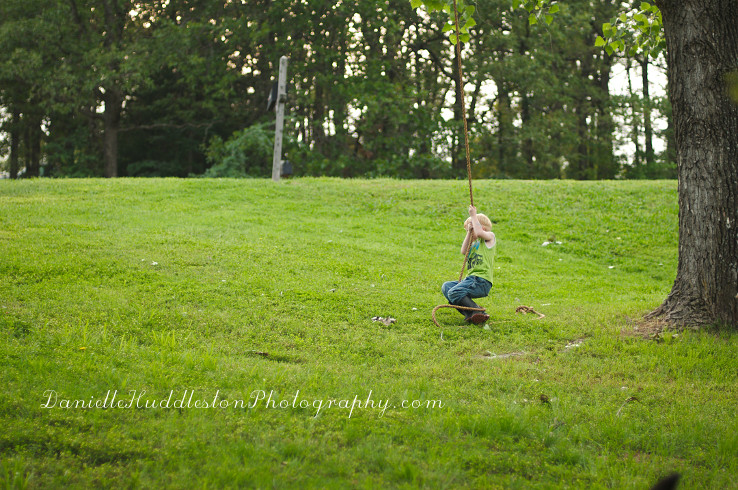
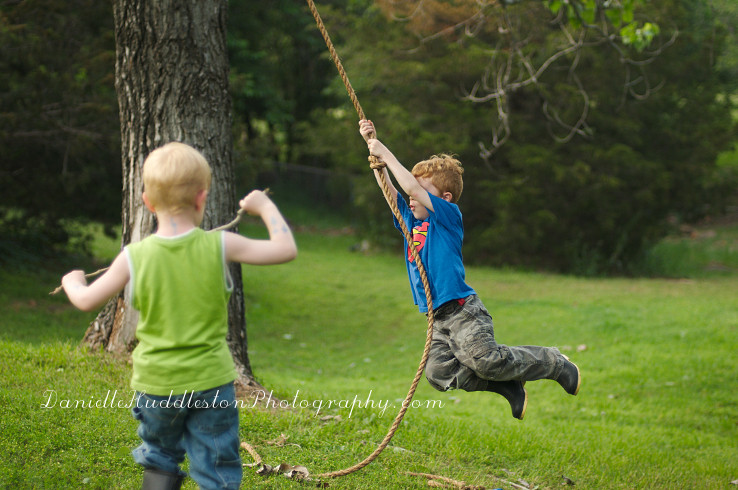
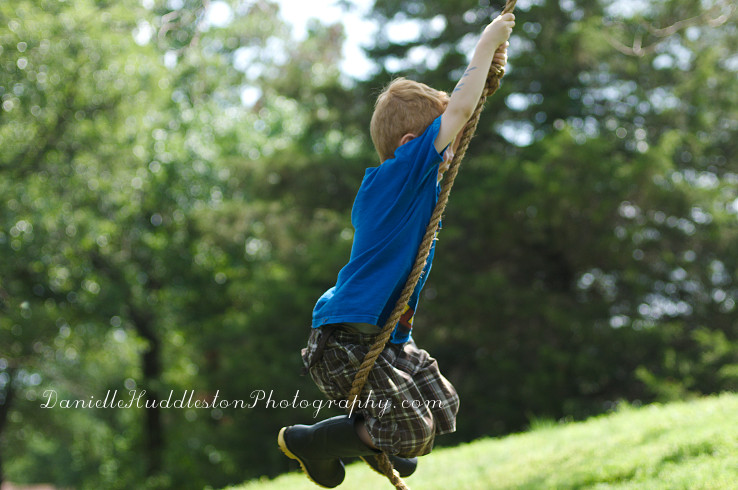
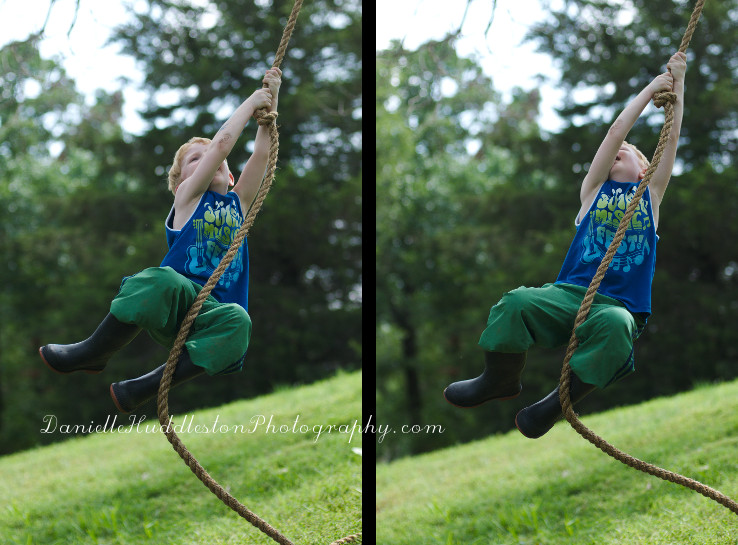
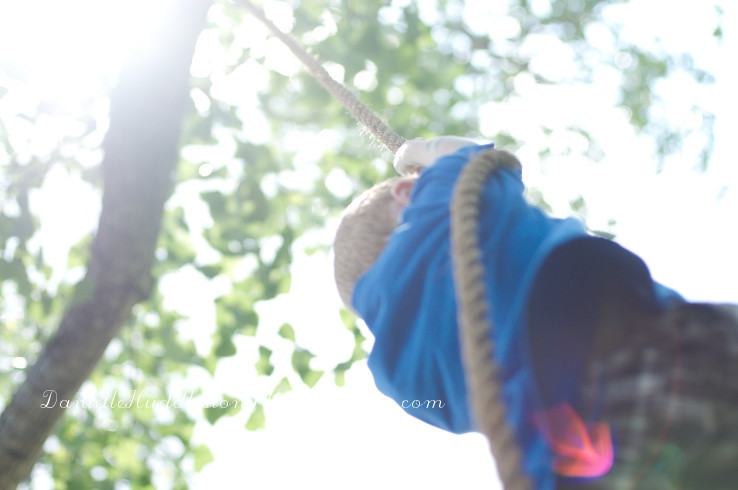
Then this happened.

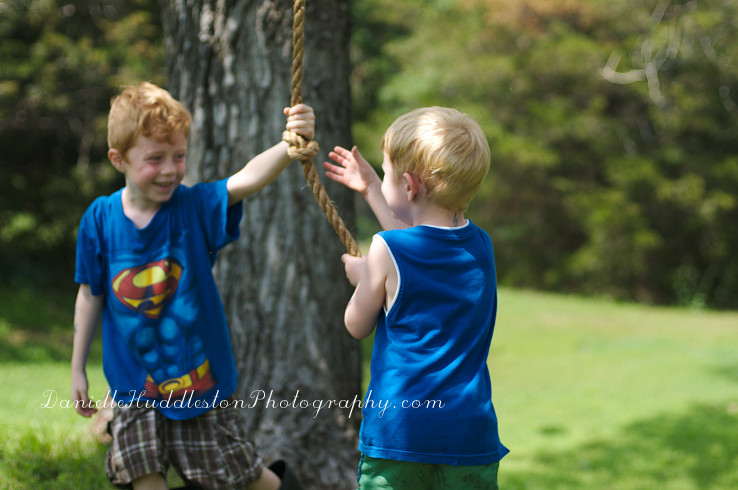
I have boys, they do not want a pretty swing.

I would have ended up having to push them since they are too lazy to figure out how to pump their legs anyway.

I am too lazy to push them.

It is a vicious cycle, that laziness…

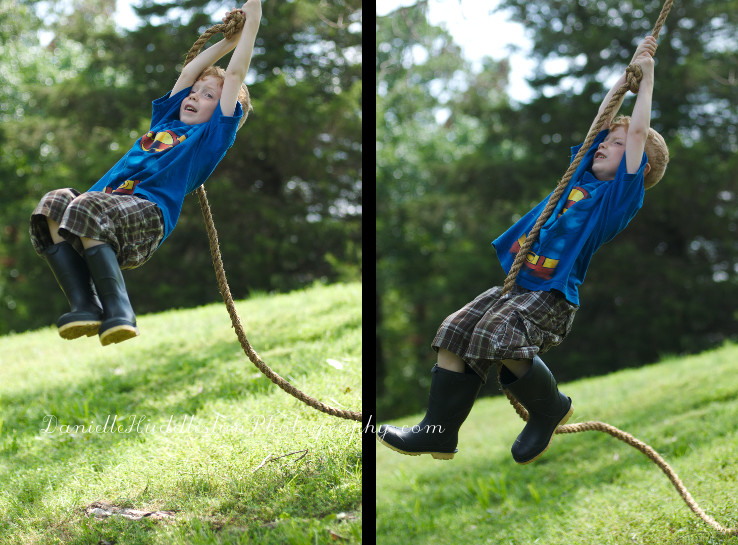
They would much rather be Spiderman swinging from buildings then sitting quietly watching the sun set while I take pictures of them in the beautiful light.

What was I thinking?

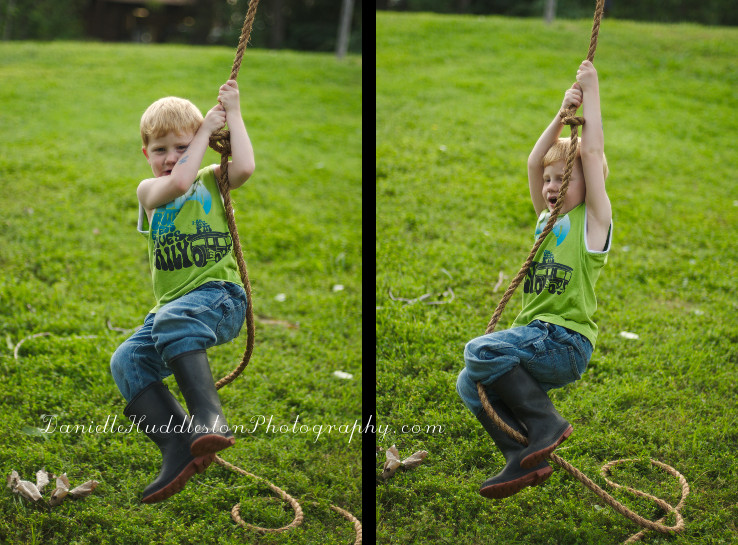
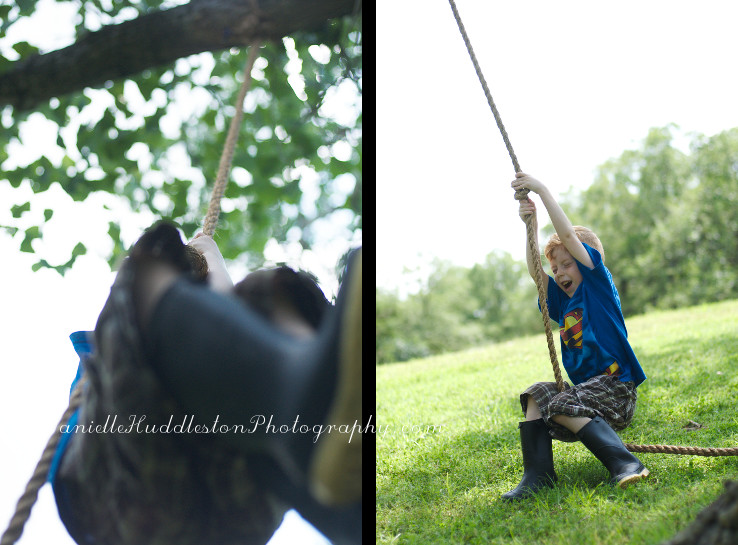
They are obviously heart broken about the unfinished swing.

It is hard to tell how far off the ground you are when your eyes are closed.

That boys cracks me up!

It is on a hill so they get more air time then with the other swing.

So for now, I am going to enjoy my happy mistake, and my two dirty, rough, loud, little boys.

For those of you that read about the last time I made a rope swing…I made a BUNTLINE HITCH AGAIN!!!!!

I am ready for my rope tying badge.