Tag Archives: photography tips

How I edit all my photo’s for free ~Part 1

I edit all of my jpg’s on an open source program called the Gimp.

I have heard from a couple people who have tried it and have gotten aggravated when they could not figure out how to use it.

Here are the basic steps I use the most.

This image is too dark.

One way of fixing that that in the Gimp is using the Screen option on the toolbar on the top right.

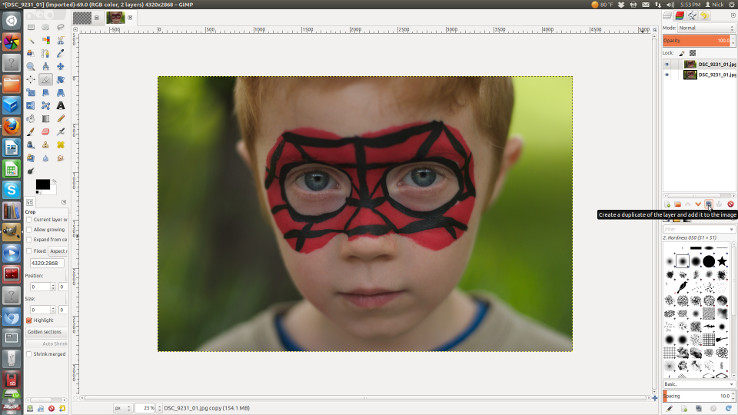
First duplicate layer, using the little icon on the top right or Ctrl + Shift +D.

I am a shortcut junky, so I will be sharing as many as I can.
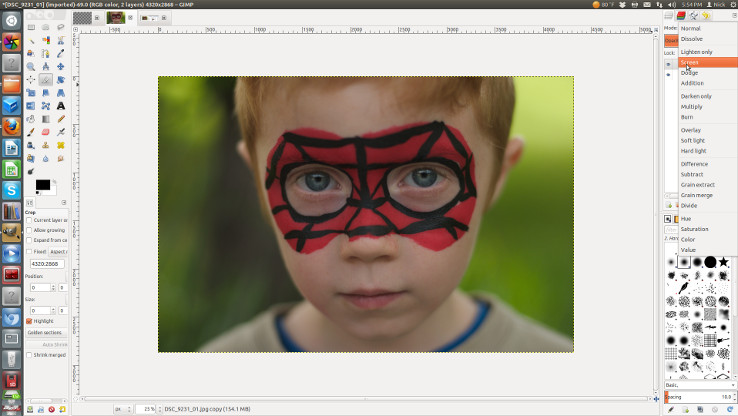
Make sure the top layer is selected when you change the mode from normal to screen.
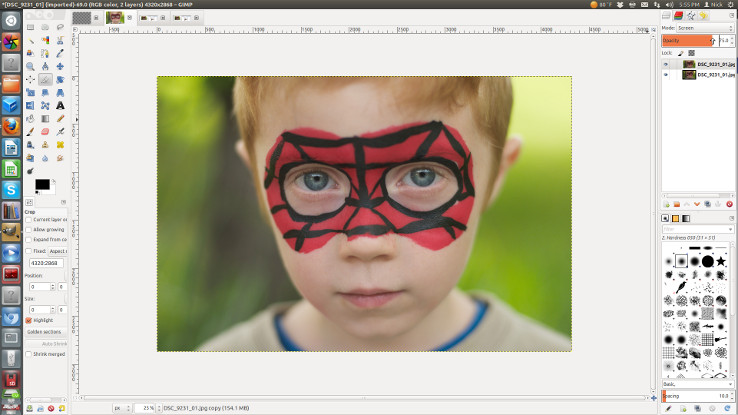
Adjust the opacity to where you want it.

I do not normally need to set the opacity so high but I intentionally underexposed this picture so I could edit it.
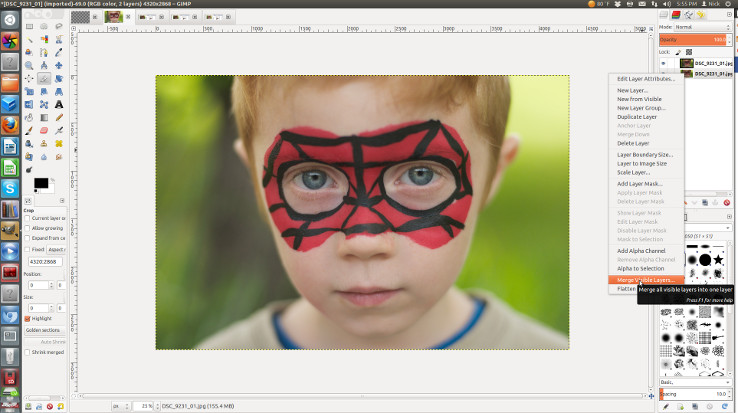
Merge layers by right clicking on a layer and selecting merge layers or by hitting Ctrl +M.
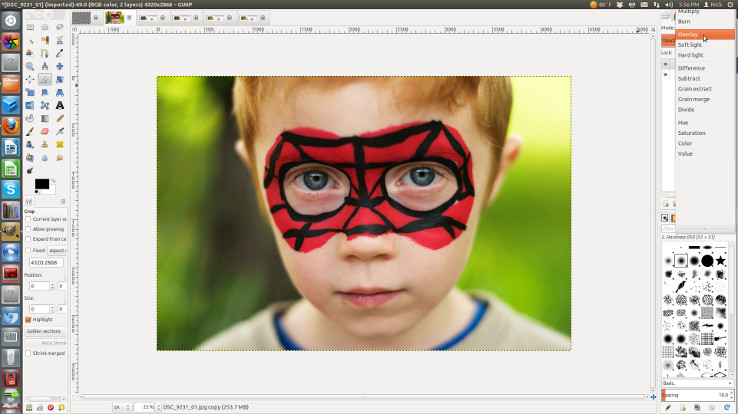
Add a new layer and select Overlay to give your pictures a little more pop.

It boost’s the colors and saturates them a little more.

I recommend setting the opacity at 50% or less.

Merge your layers again.
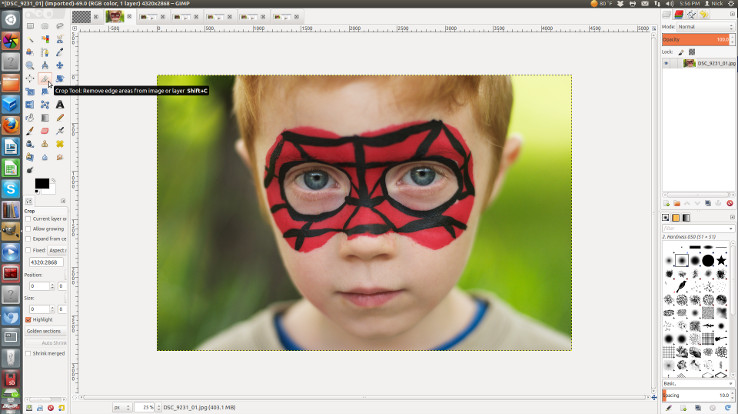
To crop, select the crop icon from the toolbar on the left.

Then click and drag on the picture to make a box.
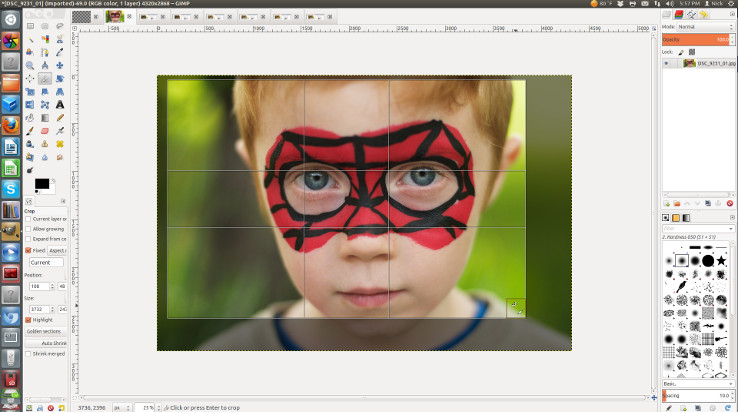
If you would like to keep it the same aspect ratio, you need to select fixed in the tool options on the bottom right.

There are also guides that you can turn on.

Just click on “no guides” in the same options and change to what you want.

Click on the middle of the picture to crop.
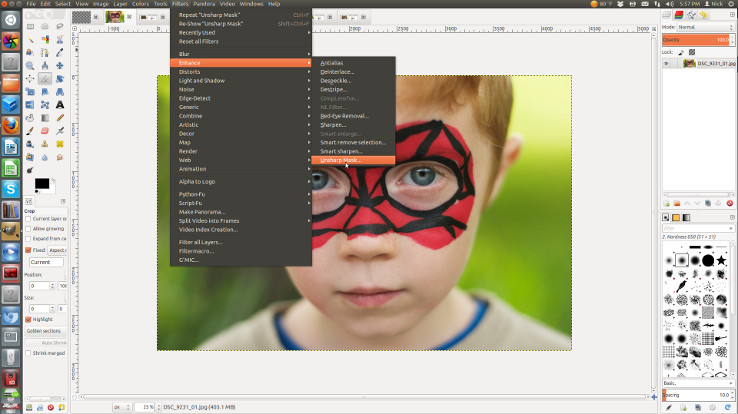
The very last thing I do is sharpen the picture.

It is best to do the sharpening and resizing very last.

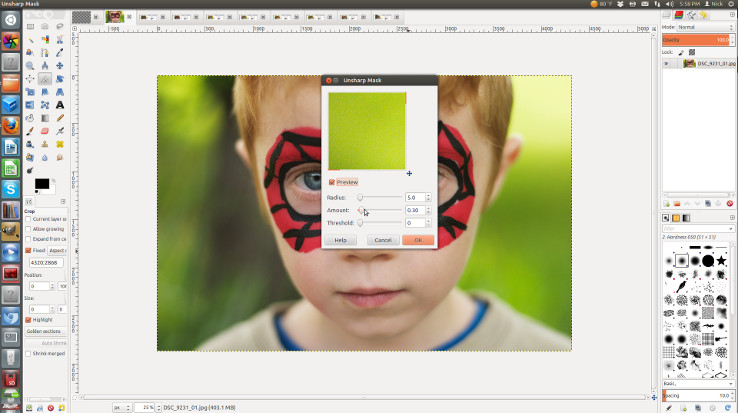
Go to Filters/Enhance/Unsharp Mask.

I like 30% on amount.

This works for my camera, you may need a different setting for yours.

I do not normally adjust any of the other dials.

Go to File/Export to save your newly edited picture or hit Ctrl + Shift + E.
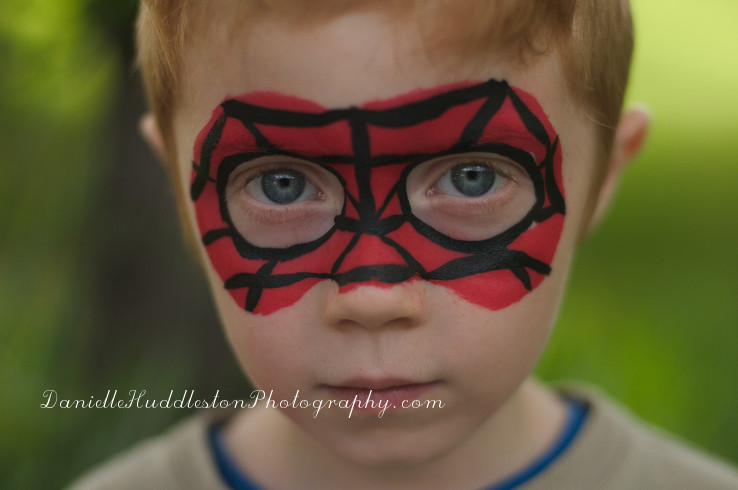
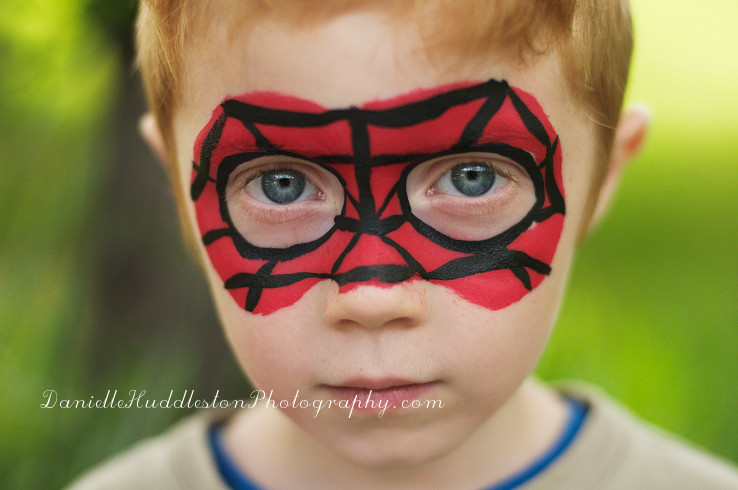
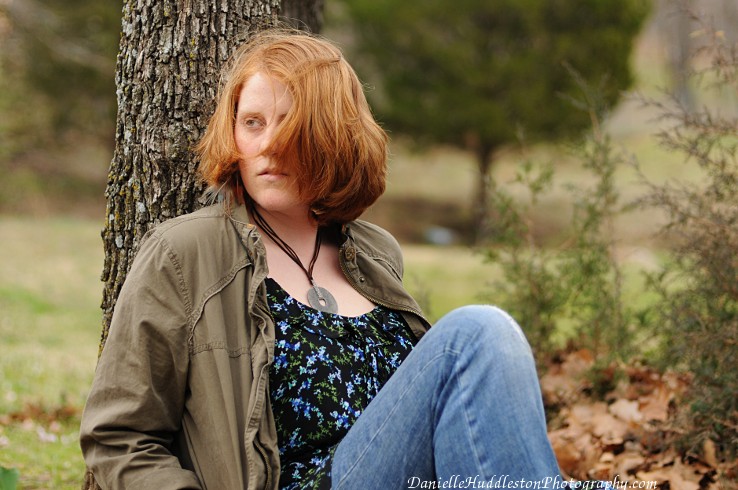
With those couple steps, I went from this.

To this.

The best part about the Gimp is that it is free!

I use only this program for editing jpg’s and have for years.

I know that the Gimp can be a bit overwhelming when you first start.

I hope this helps you get your feet in the wet, it really is an amazing program.

If you like to add textures to your pictures, Jessica Drossin has a really good tutorial on how to do it using the Gimp!

Day 30! ~30 days project

Day 30

I am going to try to explain my process when it comes to self portraits.

1. I pick a location

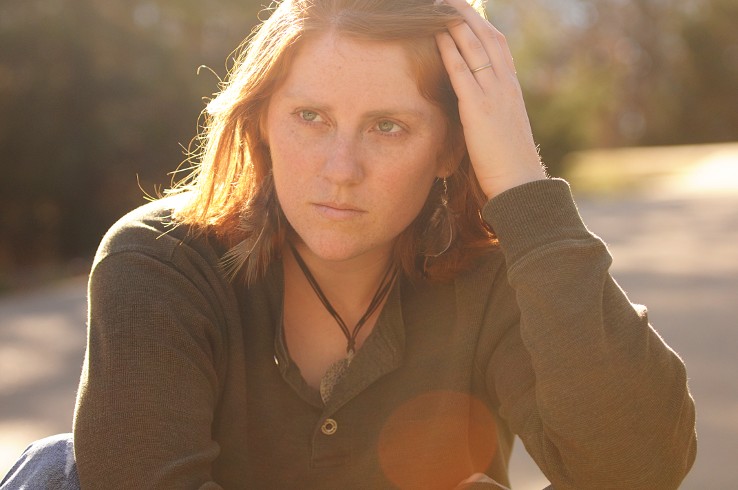
It was a cloudy day so I wanted to face the sun(at least where it would be, I could not see it) instead of having it behind me.

I usually have it behind me because I love how it lights my hair and bright light hides flaws in my background.

If you are trying for the backlit look though you need to make sure you get some light reflected on your face!

You can use, a reflector, a white piece of poster board, a building, or even a car.

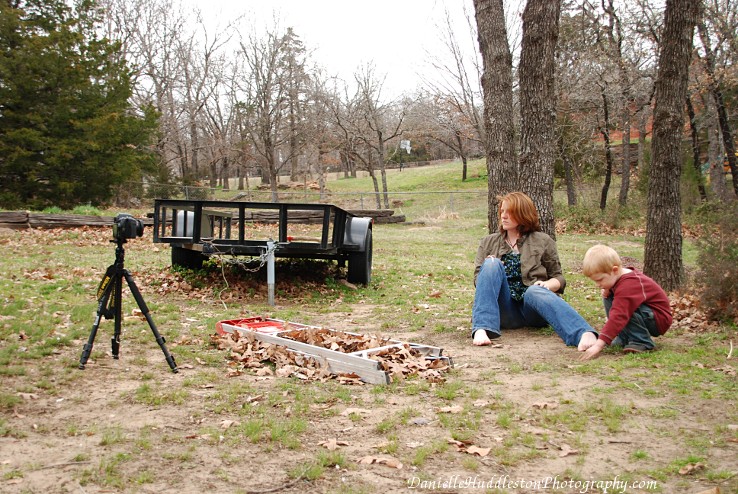
In this shot I am sitting right in front of our white car.

See the light in my eyes?

That is from the sun hitting the car and reflecting into my face.

I have been working to see more objects around me that I can use as a reflector instead of always using my actual reflector.

It is really hard to hold it while taking a picture of yourself!

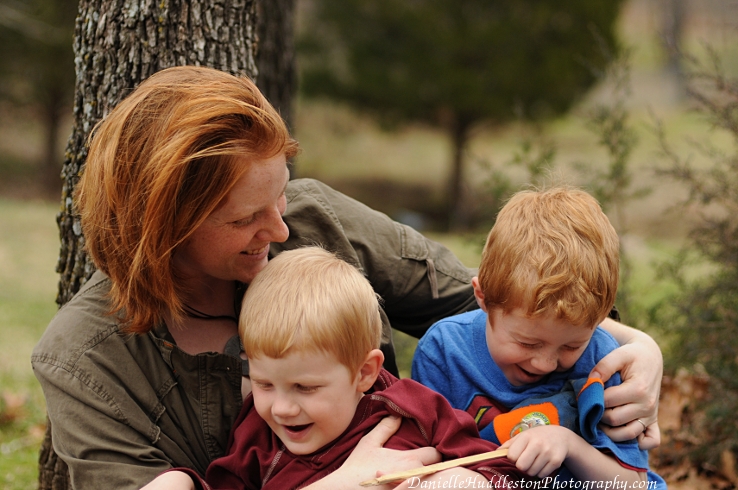
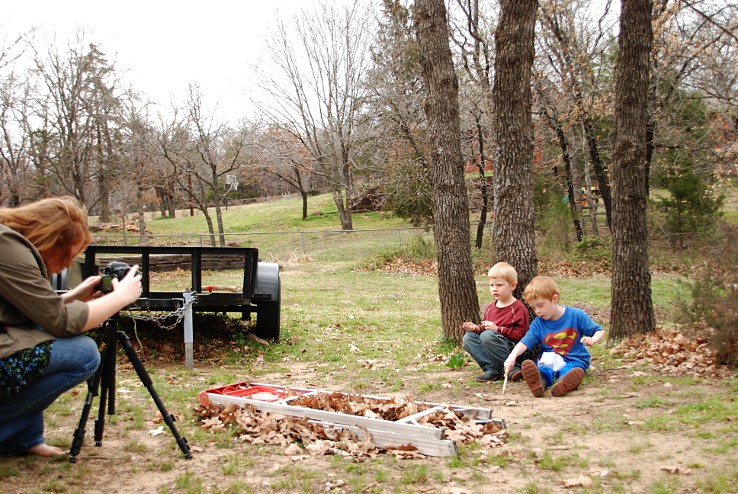
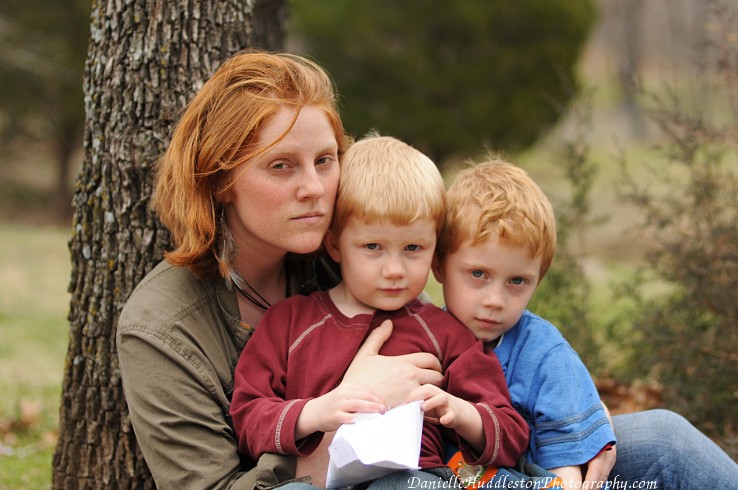
I positioned my camera so that the background would not be distracting, then I focused on my boys, and set the interval timer.

My D300s has an interval timer, which means it can take lot’s of pictures in bursts and I can set it to take how many I want.

I prefer a remote though.

I end up with a lot of pictures with the interval timer and can never seem to guess when it is going to take them!

You can use your regular timer on your camera, just make sure you set it to give yourself plenty of time.

You do not want to have to slide into the picture.

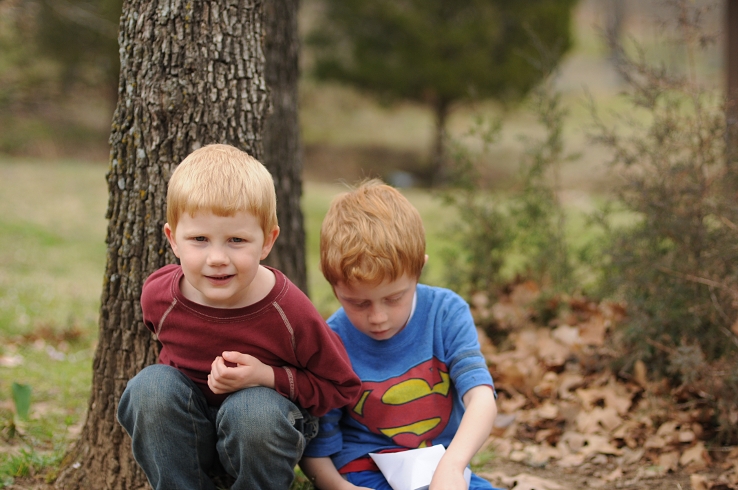
The problem with my choice to set my focus on my boys was this one was leaning way forward!

You guessed it, that whole set was out of focus.

This happens sometimes but usually setting my focus on them works really well, I do have different ways I get my focus though.

1. Use an object in the picture that I know I can sit right on, or next to (like my boys). You would have to be able to set it to manual focus for this to work.

2. Let it find it’s focus on me (this one is kind of chancy, I get a lot of shots out of focus), I have had this work but I do not usually do it if I am using a regular one shot timer or my remote. You do not want to keep getting up to check your picture over and over and have them out of focus.

3. My lens has the distance written on the focus dial, so I can set it to the distance if I am feeling lucky. I am really bad with distances!

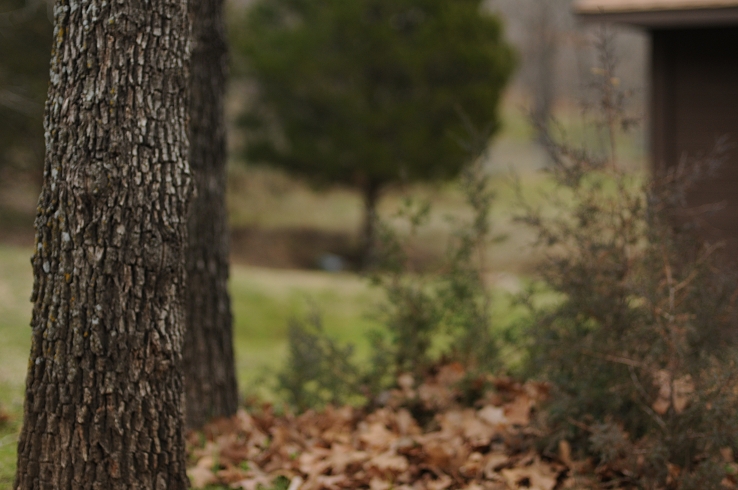
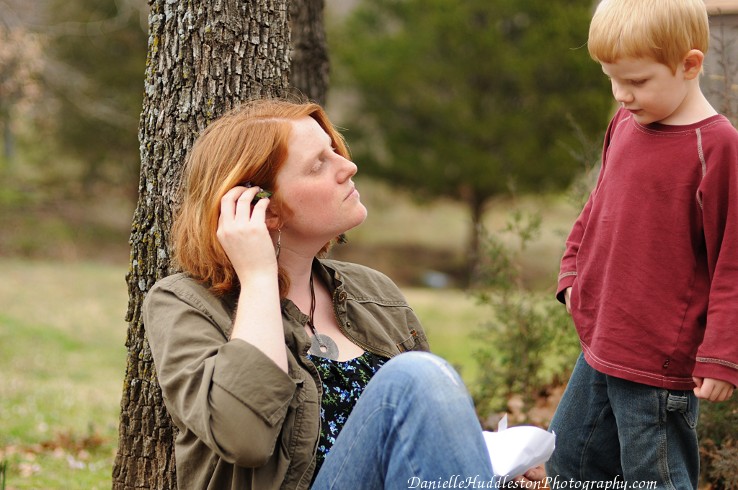
My boys were done after the first set so I took some by “myself” after resetting the focus to something unmoving (the tree).

This is how a lot of my shots happen.

The boys are either playing all around me, popping into the picture, or asking me questions as I am taking them.

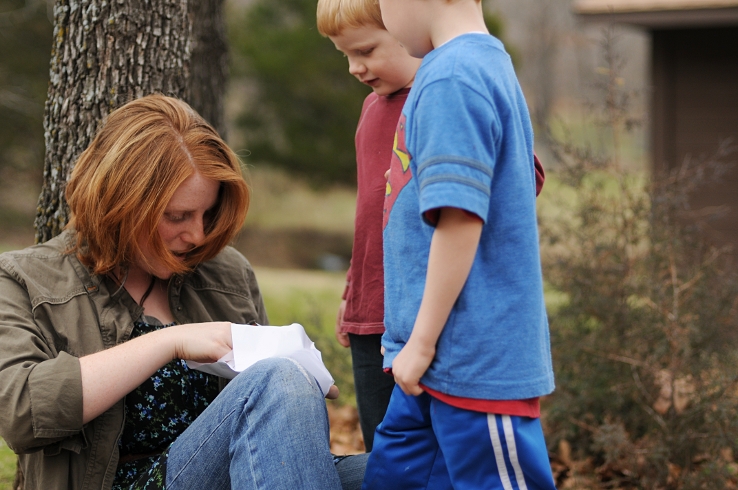
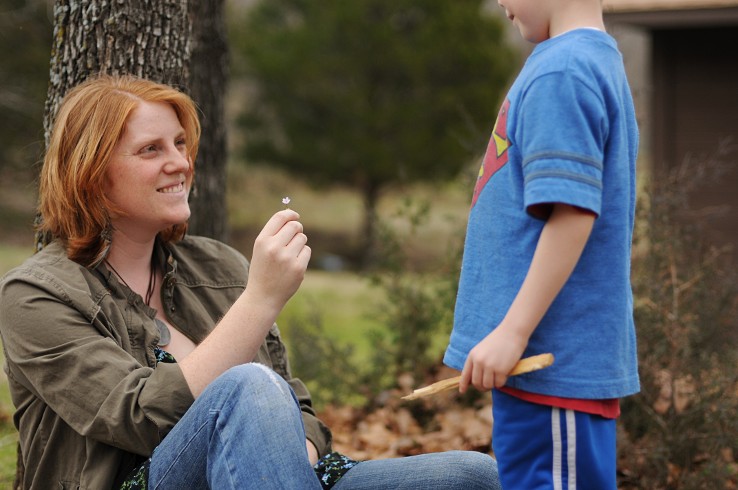
They started bringing me flowers (some of them wrapped) so I kept shooting.

My oldest is the leader of this movement.

I kind of love it.

They always insist I put them in my hair.

They finally came back for some shots but my youngest was not looking for most of them.

Of course I am showing you the one shot he looked up.

I do not know why I did that.

I am too lazy to change it.

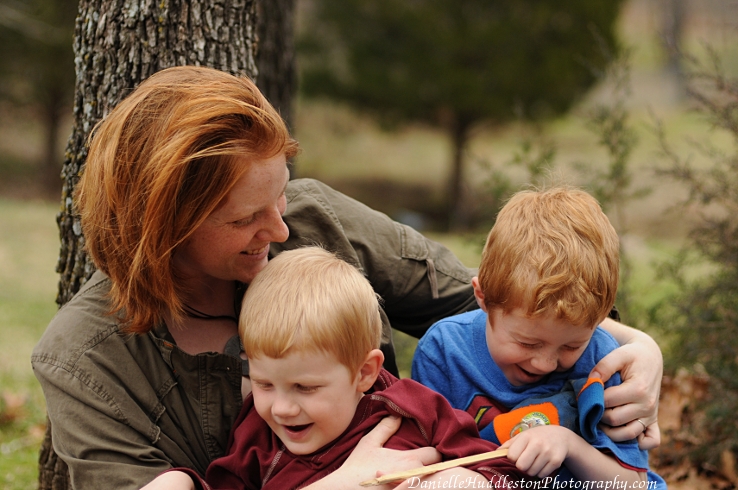
When that happens , I start talking to them, I look at them (if they are not going to look at the camera neither will I), I hug and love on them, or I start tickling them!

I make an effort to do what they want to do.

Read books, play, snuggle, ect…

I have some of my favourite pictures from doing what they want.

It was a little crazy to try and take pictures of myself, taking pictures of myself.

Here is how it went.

The boys were almost done with their quiet time so I went in the front yard and starting figuring out where to shoot.

I hauled both cameras on tripods outside and started setting them up.

My oldest came running outside with my youngest saying “there is blood!”

This actually happens pretty often with two little boys so I did not panic.

After figuring out younger brother cut his mouth and did not need to go to the ER, I cleaned him up and we went back outside.

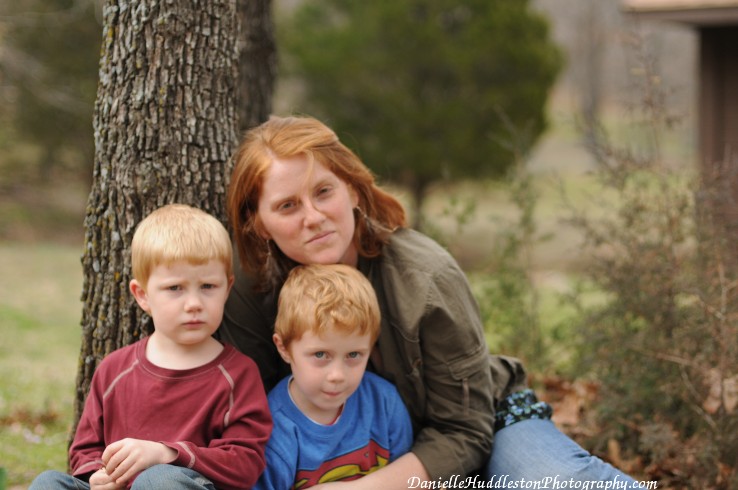
I asked if they wanted to take a picture with me and they said yes (this is not always the case).

They sat down and the whole process began of trying to get a usable shot.

Sound like too much work?

My pictures with the boys are priceless.

I always try to keep that in mind when going to all this work.