
It has been a while since I shared one of these!
Go here, for the basic tutorial and here, for black and white conversion.
Okay, here is how I convert an image to sepia using the GIMP.
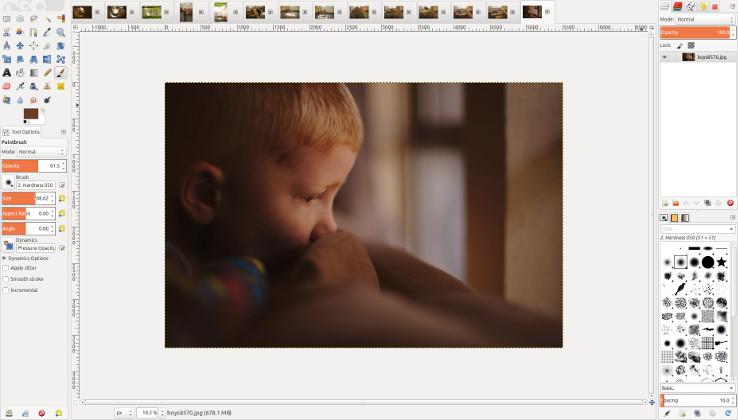 Here is my before image.
I love it because it seems so moody.
Yes, I know that is a crazy number of tabs open.
I am really glad my version of GIMP has a single window mode or I would be in trouble!
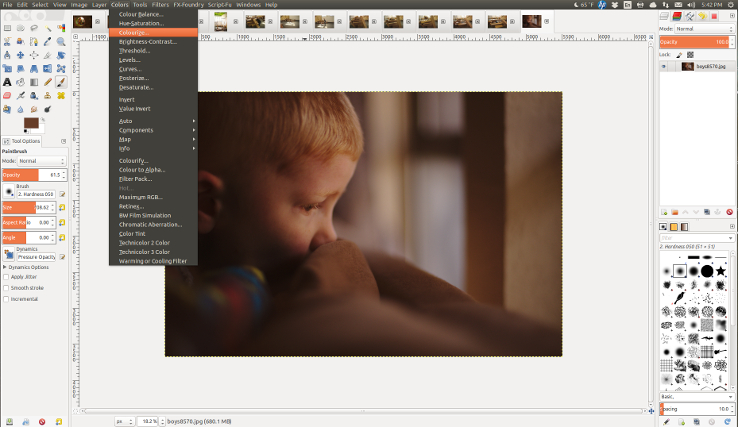 Go to Colors/Colourize.
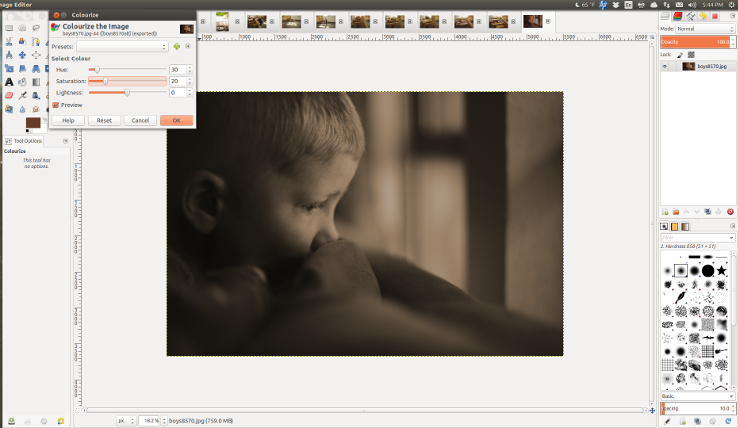 Change the settings in Colourize to:
Hue 30
Saturation 20(I often set it to 10 or less, I like a very subtle sepia)
Lightness 0(I usually leave lightness at 0 but you can play around with it)
If you want you can add some contrast by doing an overlay, see here on how to do one.
Go to File/Export to save your newly edited picture or hit Ctrl + Shift + E.
And that is it!
It is so easy!
 Before
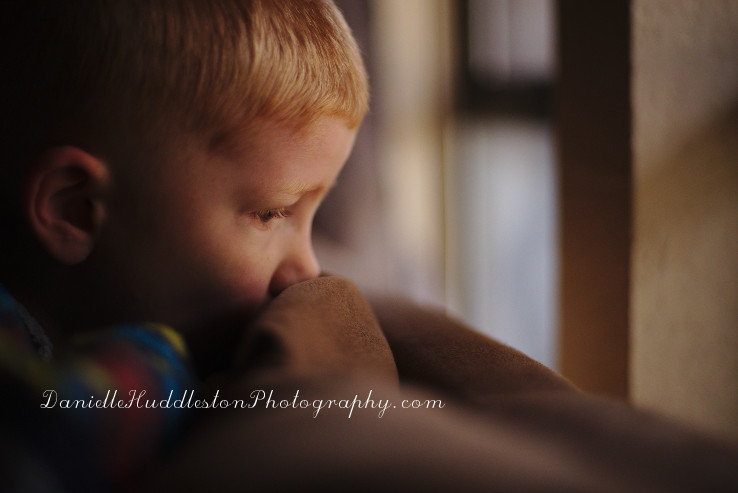
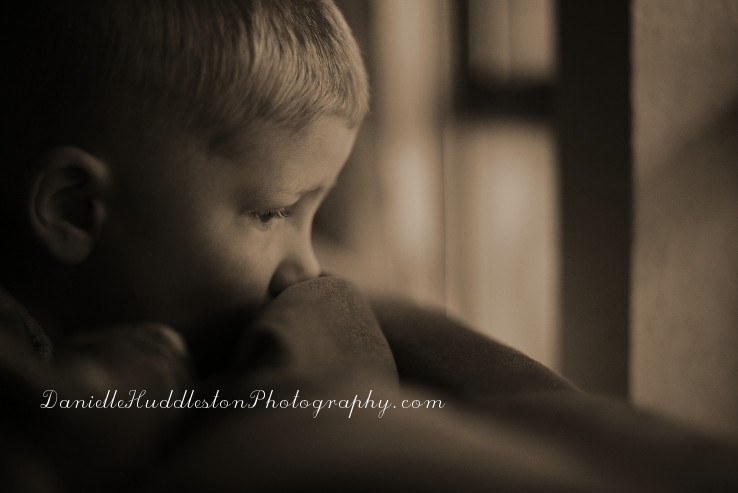 After
After


