
Finding books on Heron(or Hero) of Alexandria was next to impossible.
I am not sure why because he was an amazing inventor!
This man made a steam powered machine 2ooo years ago!
We started our study of him with a Modern Marvels Episode about him.
It is Season 11 Episode 78 called “Ancient Discoveries: Heron of Alexandria”
It was very interesting!
Next we watched this video on youtube on an Easy Hero’s Engine, here.
We decided to build a steam engine ourselves after watching it.
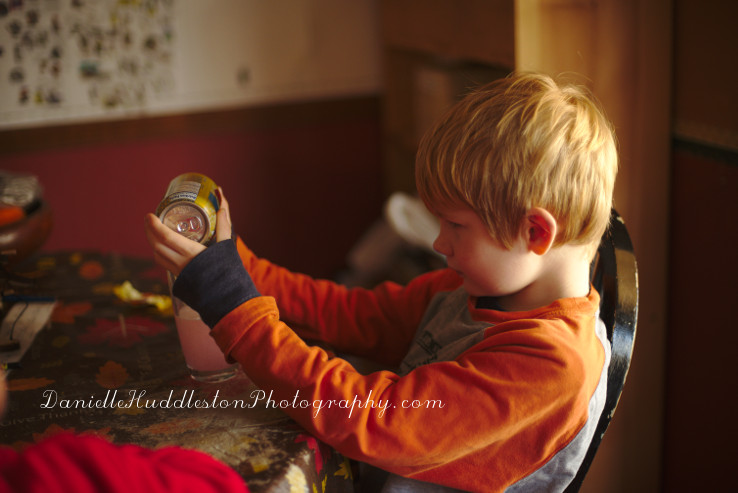
The first step was to buy some pop!
My boys liked this step.

You use a pin to carefully puncture the can.
You need two holes, one on each side of the can.
Our cans did not drain all of the way but it did not seem to affect the experiment.
You add water after draining the pop out.
If you watch the video he will give you more information on how to prepare the can.
You need the holes to be angled.
All we had to do was put pin back in after we were done draining it and then push it to one side.

You DO NOT pop the top of the can.
The tab is going to help you spin your can.
You loop a string under the tab.
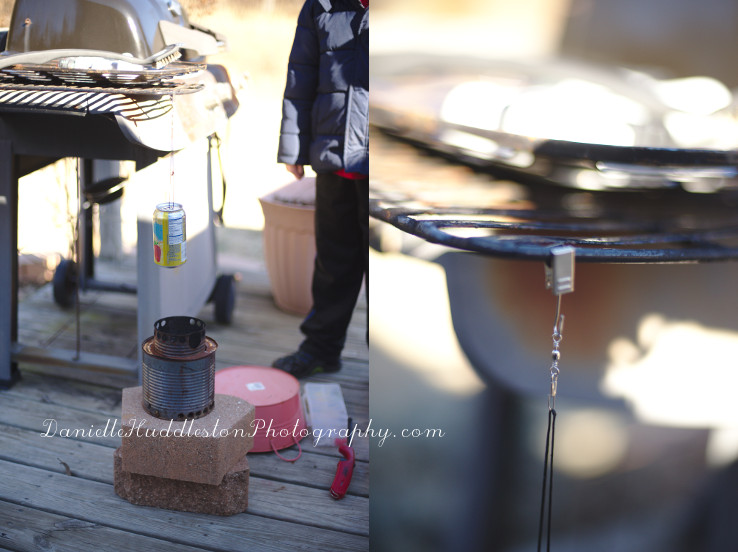
This first try was a fail.
The heat from our little hobo stove was not constant enough to heat the water in the can.
We tried it over our stove top but the spinner (from fishing tackle) we were using did not allow it to spin.
Thankfully my husband came home and told me I could just make the string longer.
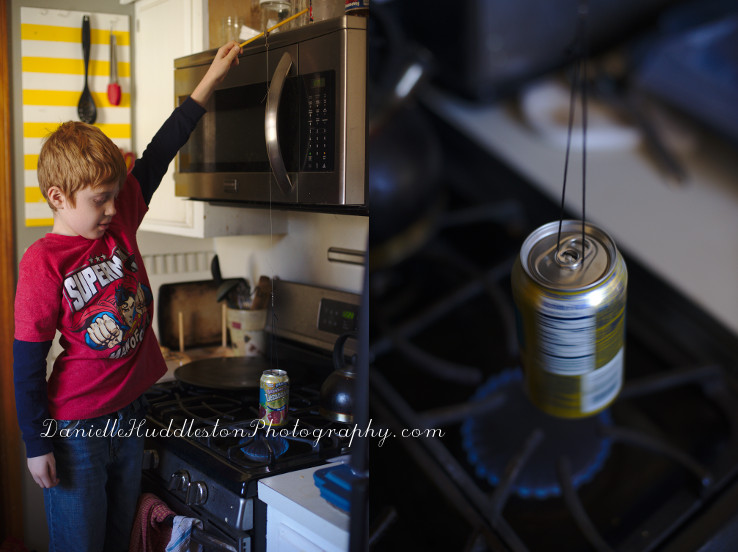
We added a long piece of fishing line and it worked!

The steam comes out of the two angled holes and causes the can to spin!
Our very own Aeolipile!
Next up we made a Heron’s Fountain from this tutorial.
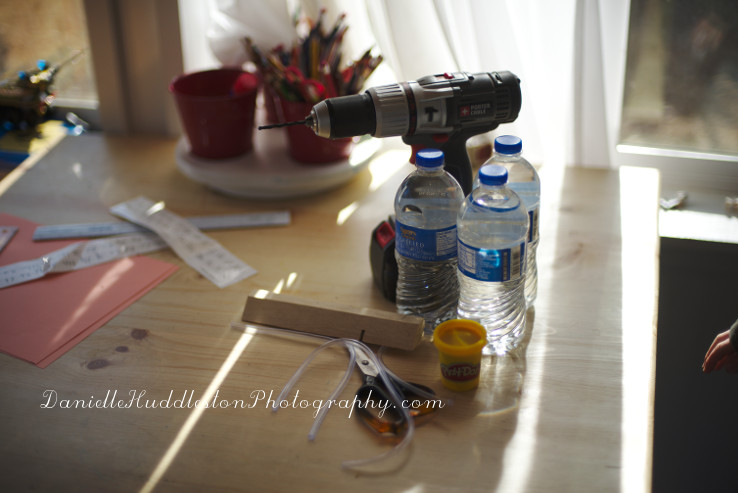
Our supplies.
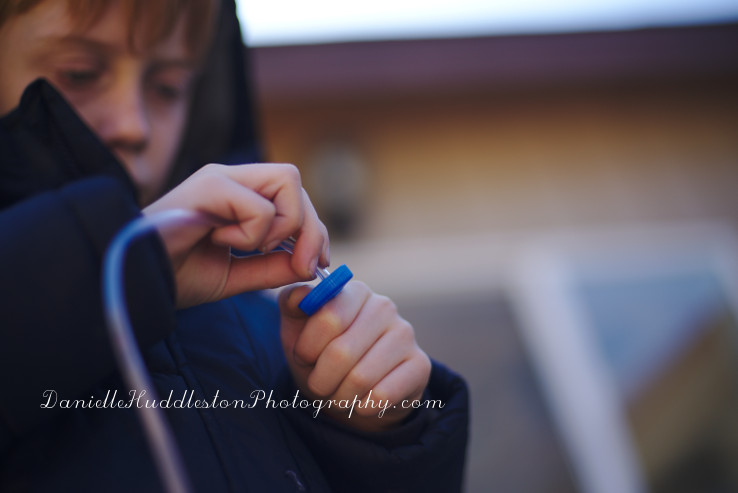
The building process was a little difficult for my 7&8yr old and needed a bit of tweaking.
We had to use several different drill bits to drill the holes before we found the right size.
You want it to be tight so you do not have leaks.
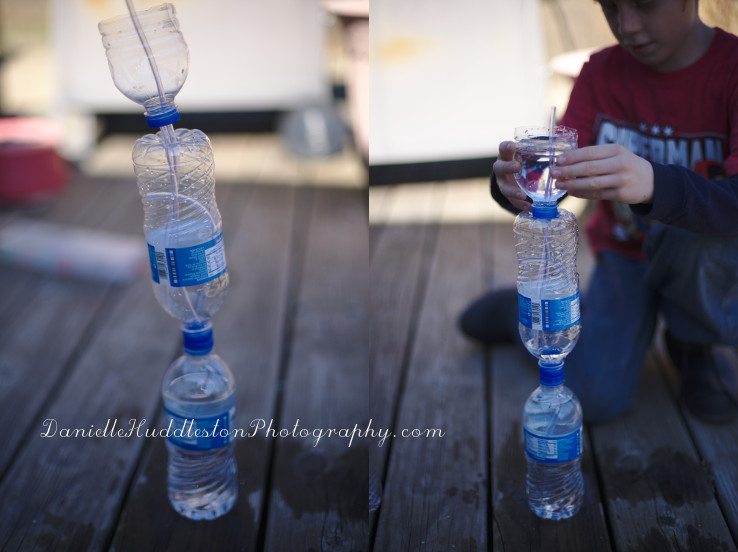
You also want to spring for the sturdier water bottles.
It is hard to drill holes into the thin flimsy ones like we got.
I put a board under the caps to drill holes into them.
Our first attempt was a fail (I have come to accept that this happens often and try to plan for the fact our science experiments might not work).
We checked everything and reread the tutorial several times but we were just not getting it.
I finally read this article on Heron’s Fountain on wikipedia and understood!
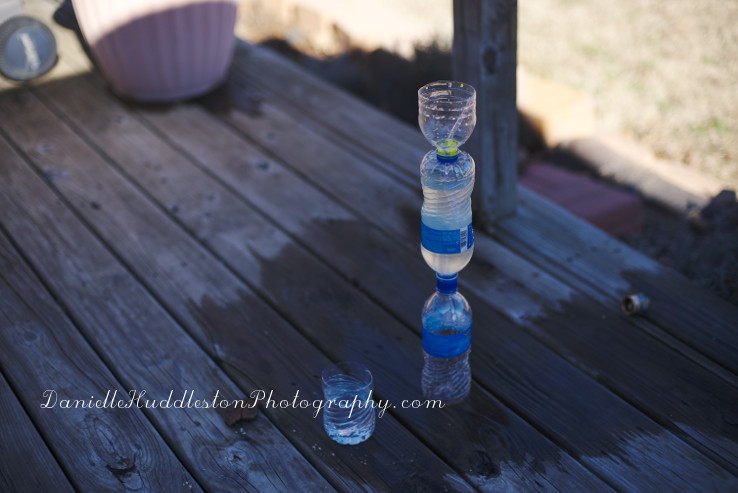
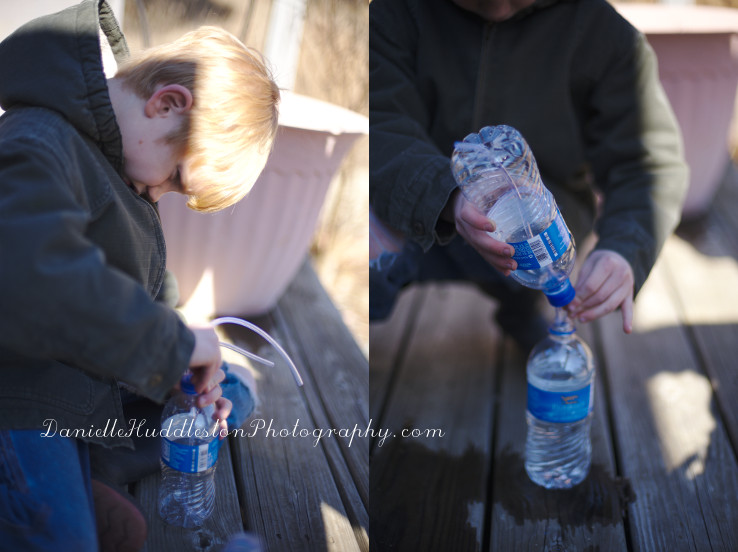
You need to start with the middle bottle full of water and the bottom one empty.

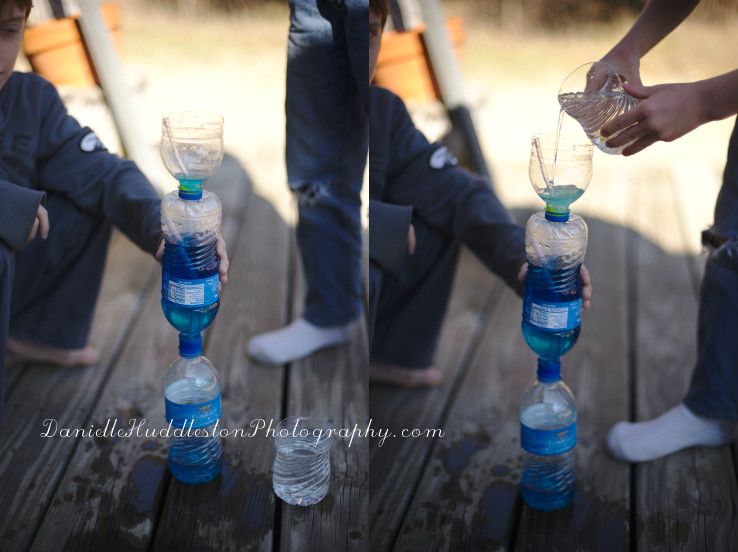
When you then pour water into the top, the water fills the bottom bottle, the air from the bottom bottle is pushed up into the middle bottle, which then pushes it out of the tube on top, creating a fountain!
When the bottom bottle is full then your fountain will stop.

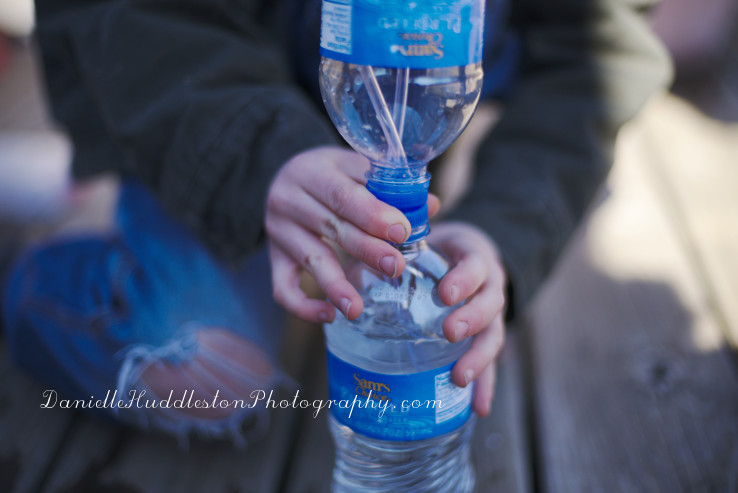
This is the easiest way we could figure out how to refill the middle bottle.
Unscrew the bottom bottle and hold the longest tube closed.

Put water in the top while holding the top tube under water.
This causes the water to fill the middle bottle.
Then you are ready to start again!
If you are wondering why our water is blue in some of these, we added a few drop of food coloring once to watch where the water was going.
I highly recommend this!
It was really cool to watch the food coloring travel through the tubes!
If you have older kids then you could make this Gin Pole as well!
He was a fascinating and brilliant man!
I am so glad that we learned about him!


